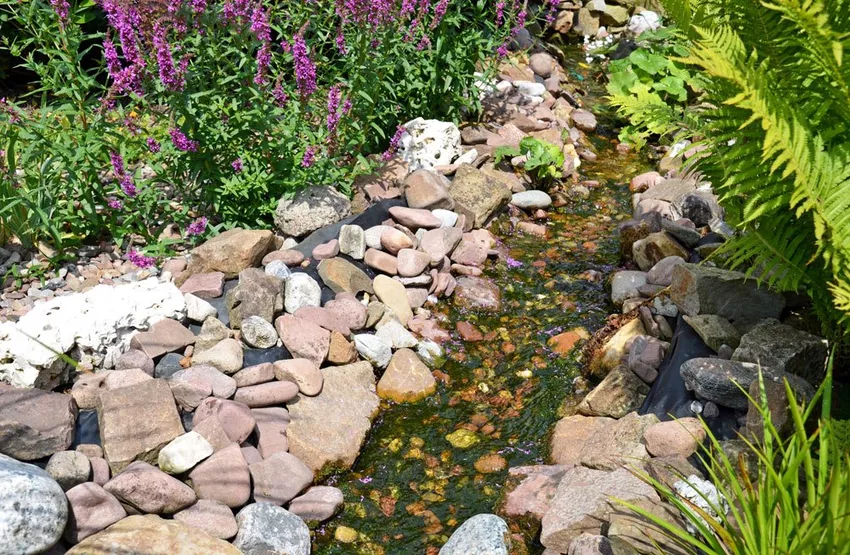
Gardens on a slope also have their merits. Because there you can create a wonderfully babbling brook. Building the whole thing isn't as difficult as you might think, either.
 A garden on a hillside is a challenge for most, because here you can often not realize yourself as you would like. However, gardens on a hillside also have an advantage. A stream can be created here, for example. In this respect you have it much easier than people who own a level garden, because here the water runs down automatically. Such a garden on a slope does not only have bad things about it. And best of all: you can build such a stream yourself. It's really not difficult.
You need for a stream:
- pond liner
- pond fleece
- Sand
- Sourcestone
- stones
- Plants
- pond pump
- possibly a rain barrel
How to create a stream
❶ First plan the course of the stream on paper. Where should he walk? Are there obstacles that need to be removed beforehand? Think the whole thing through carefully and, as a first step, maybe even think about where you would like to plant something later. You can also draw this on your sketch.
❷ After you have planned the course of the stream on paper, it's time to dig up the earth. You have to decide for yourself how wide and deep it should be. It is important that you plan 5 centimeters more for the desired depth. After you have dug the creek, it is filled with a 5 centimeter high layer of sand, which levels out minor bumps and serves as a bed for the pond liner. But first, just dig out the creek. And with a slight gradient.
If you don't want the stream to end in a garden pond, you must dig a rain barrel into the ground at the end of the stream. The pond pump will come in here later.
❸ Now you have to remove roots, plant debris, stones and other sharp pieces of soil that are still in the trench. Then the 5 centimeter high layer of sand comes into the stream. You then have to lay the pond fleece on top of that. This protects the pond linerDamage.
❹ Next you need to determine the length and width of the pond liner. Simply lay a string in the ditch from the beginning to the end of the stream. Then measure the length of the cord and you have already determined the required length of the pond liner. Calculate the width of the pond liner as follows:
(depth of stream x 2) + width of stream + 50 centimeters
The pond liner then overlaps 25 centimeters on both sides of the stream. This will prevent the foil from slipping into the stream. You now have to lay them and pull them as smooth as possible. You can weigh them down with stones to keep them in place.
❺ The starting point of a stream is always a so-called spring stone. You can buy this in the hardware store in a wide variety of designs. You can also make the source stone yourself. Instructions can be found here.
You must now connect the source stone to the pond pump. To do this, lay the garden hose from the pump on the pond liner to the source stone. Connect everything and fix the garden hose to the pond liner using Teflon tape.
❻ Now you've done the actual work. Finally, you only have to beautify the stream visually, for example by adding decorative stones and plants. This is particularly useful at the edges, because this way you can conceal the protruding pond liner. However, do not use plants that are overgrowing. Then you can start running the stream and enjoy the wonderful splashing of the water.