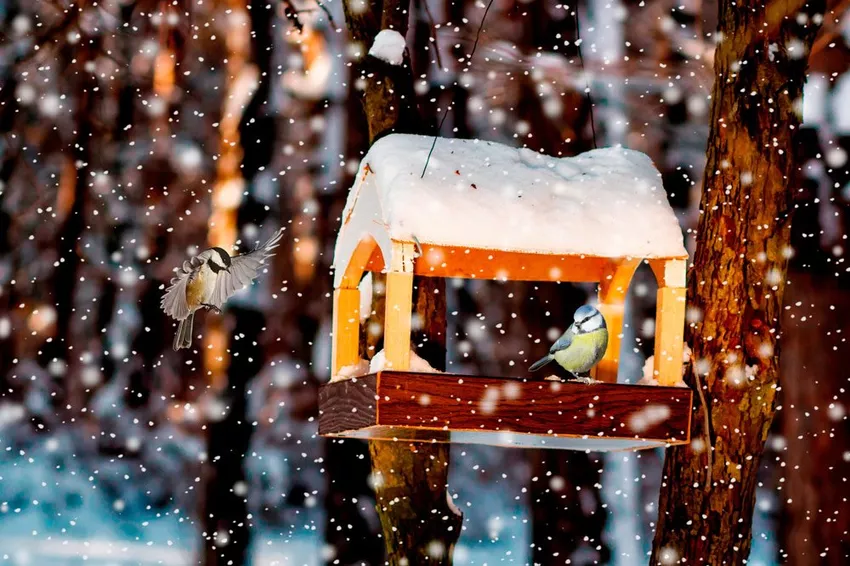
While we enjoy our food in the warmth, birds often go hungry in winter. So help them and build a bird feeder yourself. Here are our instructions.

When there is chirping in the garden, that is probably the most beautiful natural sound there is. Birds always make sure that we feel really good outdoors. And you should thank the little animals for that in winter at the latest by offering them food. Why? Because snow and ice make it almost impossible for the birds to find enough food.
Feeding the birds - yes or no?
Of course there are enough people who are against feeding. The main argument of the opponents of feeding: If we make it easier for the birds to search for food in winter, we are overriding the natural selection mechanisms. In addition, winter feeding often only promotes species that already occur frequently in nature.
You must now decide for yourself whether you want to contribute to animal welfare and preserve biodiversity, or whether you want to let nature take its course. Personally, we're all for feeding the birds in the winter. You don't want to go hungry all winter, do you?
What is the right winter feeding?
» feed regularly:
First of all, you need to know this: once you start feeding, you should continue to do so throughout the winter and into early spring. This is important because birds quickly get used to a feeding place. So don't just feed a few times to attract the birds, feed them regularly.
» use the right lining:
For feeding, use fat balls, sunflower seeds, raisins, oat flakes or the ready-made feed mixtures from the trade. Of course, you can also make bird seed yourself. Leftovers such as bacon, potatoes, etc. are absolutely taboo! They harm the little animals instead of helping them.
You can find out which birds prefer which food the most in this guide from NABU
» Offer food correctly:
Tit balls and rings you canalmost everywhere, because these consist largely of fat and do not quickly start to mold. However, it is important that cats or other enemies cannot get to these feeding places.
It is different with loose bird seed. So that it doesn't get wet and possibly start to grow moldy, it makes sense to put it in a covered bird feeder. We're not talking about a real aviary in which the little animals can nest, but only about a covered feeding place. Don't you own something like that? No problem! You can build such a bird feeder yourself in no time at all. The instructions below show you how to do this step by step.
Bird Feeder Building Instructions
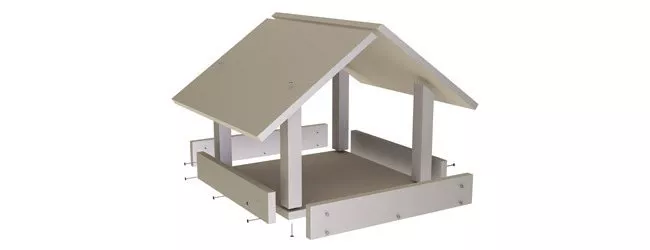
To give you an idea of what our bird feeder should look like later, here is a simplified representation:

You will need this for the bird feeder:
• 1 wooden panel for the floor (20cm x 20cm x 2cm)
• 2 wooden panels for the roof (15cm x 20cm x 1cm)
• 4 wooden strips for the edges (20cm x 5cm x 1cm)
• 4 wooden slats as roof supports (20cm x 2cm x 2cm)
• Nails
• Hammer
• Clear varnish or colored varnish
• Brush
Step 1:
First of all you will need to assemble the four wooden battens for the lower frame (both ends each), the four support beams for the roof (only one end each) and also the two wooden panels for the roof itself (only one of the two long sides ) mitred, i.e. saw all strips or wooden panels at a 45-degree angle.
Please note: These elements are not mitred on the sketch!
» My buying tip!
It's easier with a ready-made kit. We used this kit and assembled it together with our children.
Step 2:
Once that is done, you can now hold the first bar for the frame on the outside of the base plate and nail it to it. Then take the next strip, place it exactly on the first one and nail it back to the base plate. Repeat with the last two bars.
You should also use nails to join the corners where two strips meet for more stability.
Step 3:
Since you mitred the four wooden strips that serve as roof supports in the first step, you can now attach them directly. To do this, place each individual wooden strip in a corner and from below with itnail the bottom plate.
Step 4:
Now it's a matter of connecting the two roof panels. Place the mitred sides together to make a 90 degree angle and nail the two panels together.
Step 5:
Once the roof is finished, all you have to do is place it on the slanted roof supports, align it and nail it to the roof supports. Your bird feeder is ready!
Step 6:
You can do this step, but you don't have to. Then you can cover your bird feeder with clear varnish or even decorate it beautifully with colored varnish, just according to your taste. There are no limits to your imagination.
Then all you have to do is set up the bird feeder or attach it to a tree and fill it with feed. With a little patience you will soon see the first hungry little birds eating in your bird feeder.