If you want to build a wooden fence yourself, you need some manual skills. Our instructions will help you - step by step.

Property delimitation, privacy screen or part of the garden design, a fence is not only functional, but can also become a visual highlight in the design of the green area. A wooden fence is particularly suitable for those who want to set up their own fence. In our guide you will learn everything you need to know about the materials you need and how you can easily build a wooden fence yourself.
Before planning - which wooden fence should it be?
Before the actual planning of the wooden fence can begin, it must be determined which type of wooden fence is to be built. Because that is what determines the length of the posts, their attachment to the ground and the required distance between the individual posts.
- Hunter fence - small but mighty
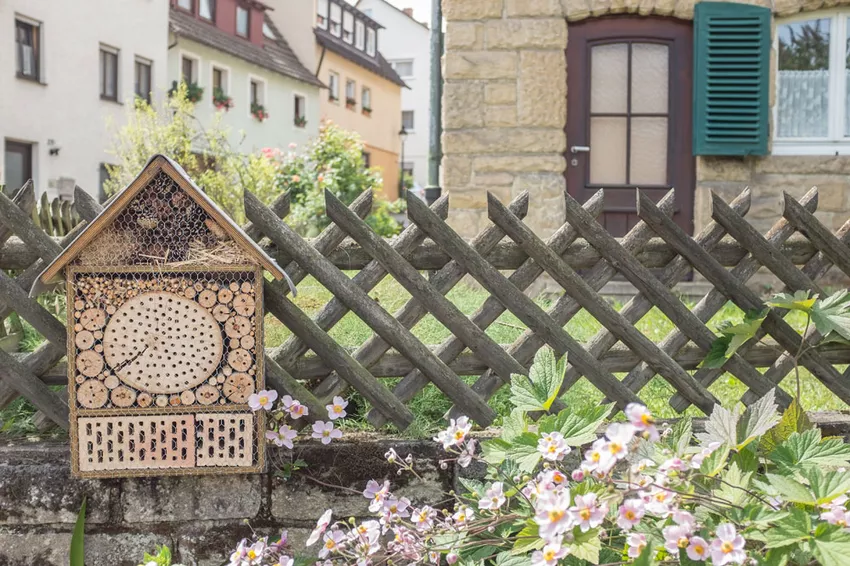 A hunting fence is also known as a scissor fence and is made of semi-circular slats that are connected crosswise in two layers. Finished fence elements are pushed together like an accordion and can thus be slightly varied in height and width. The height of a hunter's fence is limited, so that it is unsuitable as a privacy screen. However, it is often placed as an edging for flower beds or behind a hedge.
- Privacy fence - for more privacy
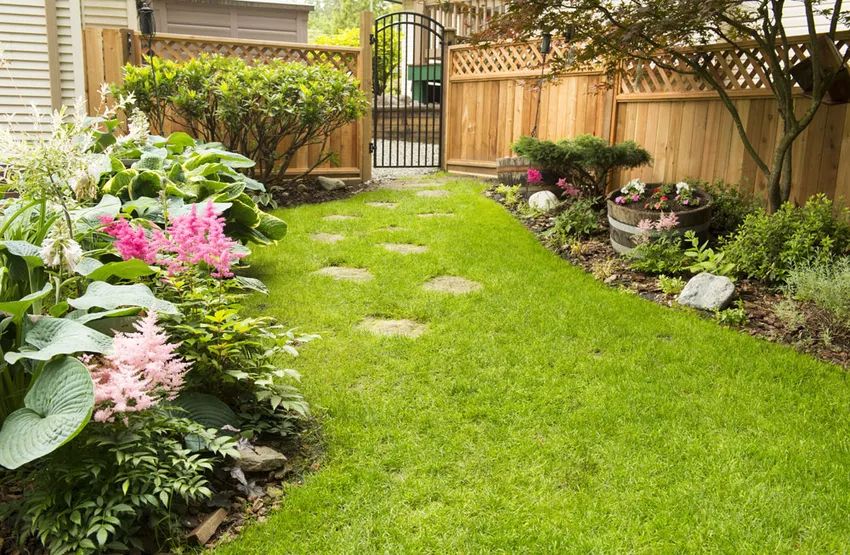 As the name suggests, the privacy fence offers protection from unwanted views and can usually be erected at a height of 1.80 m without prior approval. In addition to the already prefabricated (but also quite expensive) finished elements, you can design many interesting variations with wood. Whether with perspective or without is up to the builder himself.
- Pickle fence - naturalness is trumps
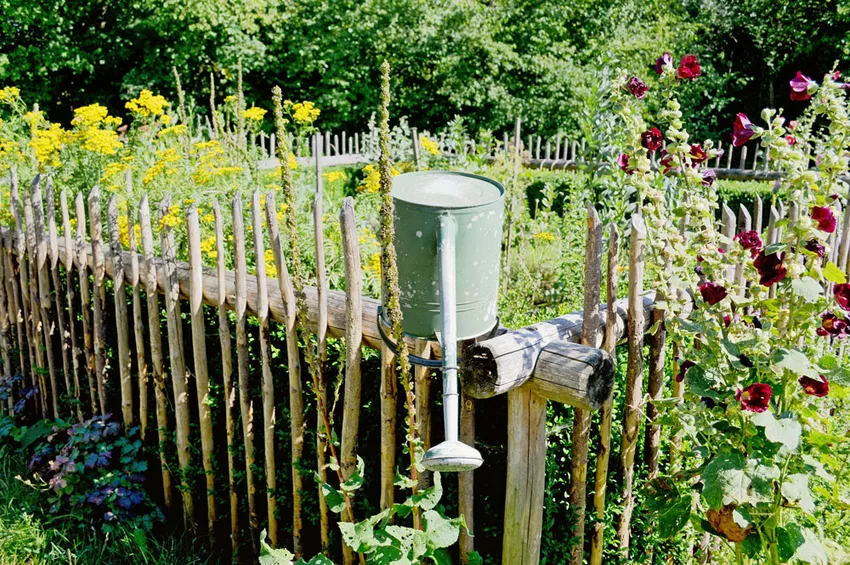 The picket fence is made entirely of natural materials and is often found in natural or cottage gardens. Oak and sweet chestnut wood is particularly recommended, but hazelnut and willow canes are also popular because of their straight growth. Prefabricated elements are already connected with wire.
- picket fence - ammost popular
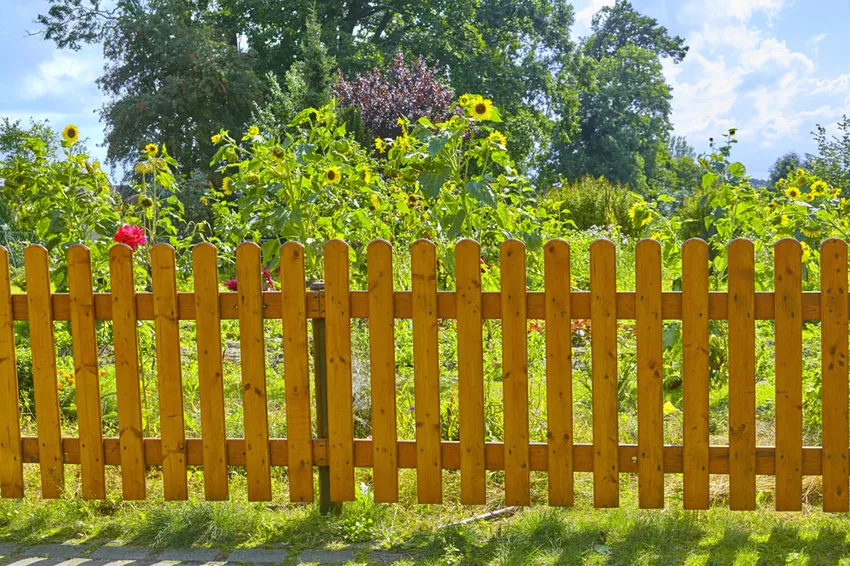 A picket fence is built from semicircular or flat slats and can be freely selected in terms of height and design within the framework of local regulations. In addition to the hunter's fence, this variant is the most popular way to fence off a property. The vertical slats are planed and sometimes turned into elegant or rustic shapes.
- Ranger fence - inexpensive
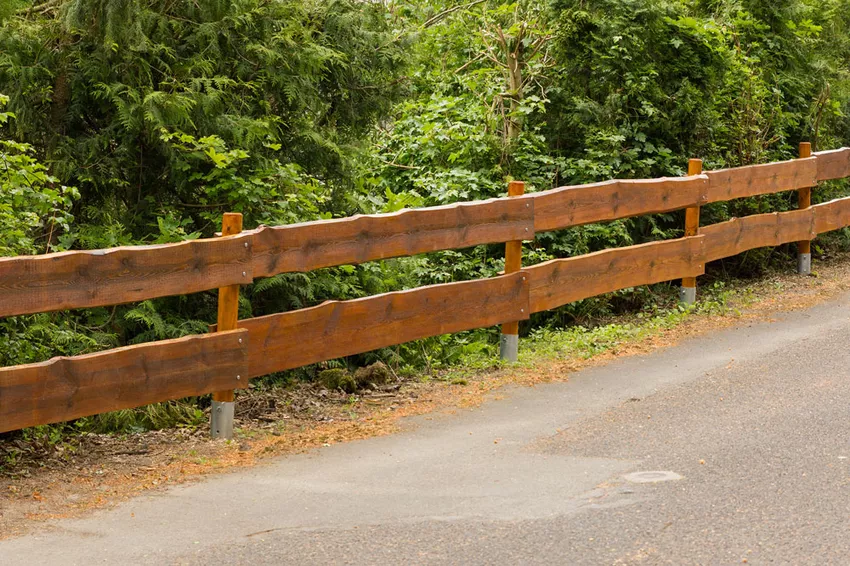 The ranger fence, like the picket fence, is a fence that is very close to nature, as it is made from little processed wooden boards. These are usually fastened lengthwise to the previously erected posts, but ranger fences with vertical battens can also be found. Ranger fences are popular for fencing larger areas because of their ease of installation and lower cost of materials.
Build your own wooden fence - step-by-step instructions
1. Planning
As soon as it is determined which wooden fence is to be built, the actual planning begins. Since posts must be set up for every type of wooden fence, the length of the fence or the individual sides must first be measured. After that, the distance between the posts must be evenly distributed in order to obtain a coherent overall picture. The most common distances between the posts are 1.80 to 2.50 m. If a garden gate is to be installed, its dimensions must of course be taken into account.
» Note:
If the wooden fence is built from individual fence slats or boards, the post spacing can be determined individually. With finished elements you are bound by their dimensions.
If the individual fence slats are attached vertically, some math is required to determine the post spacing, as there is usually a small distance between the individual slats. A true-to-scale drawing is worthwhile here, so that there is not too much gap left at the end of the fence and you get enough material. Once the number of posts has been determined, their length must be determined. This depends on the length of the fence slats and whether the posts should protrude or not.
» Tip: When calculating the length of the support post, do not forget the joist hanger. If the post is to be rammed into the ground without a bracket, it must be calculated 30 - 50 cm longer and sharpened, depending on the nature of the ground.
In order to determine the length of the horizontal supports for the vertical battens, the measurement is taken from the middle of the post to the middle of the post. Depending on the height of the fence shouldhere at least two to three straps are estimated over the entire length.
2. Tools and MaterialIn addition to the wood for the fence, you also need a number of tools and materials to build your own wooden fence, which are compiled in the following list:
- Joist shoes or drive-in sleeves
→ for fastening the fence posts and to protect against moisture and rot - screws
→ to fix the beams and slats - Folding Rule
→ for exact measuring - Level, straightedge, plumb line
→ to level posts and slats - Hammer, mallet, squared timber
→ to level the post bases or the posts themselves or to hammer them into the ground - screwdriver, cordless screwdriver
→ for everything that needs to be screwed together - Precast concrete or dry mortar
→ for embedding the joist hangers - Wheelbarrow
→ for taking up the excavation for the post holes, or for mixing ready-mixed concrete in them - shovel, spade
→ to dig the holes for the concrete - Spacers for slats
→ a slat or board of the desired width is best suited for this
3. Prepare terrain
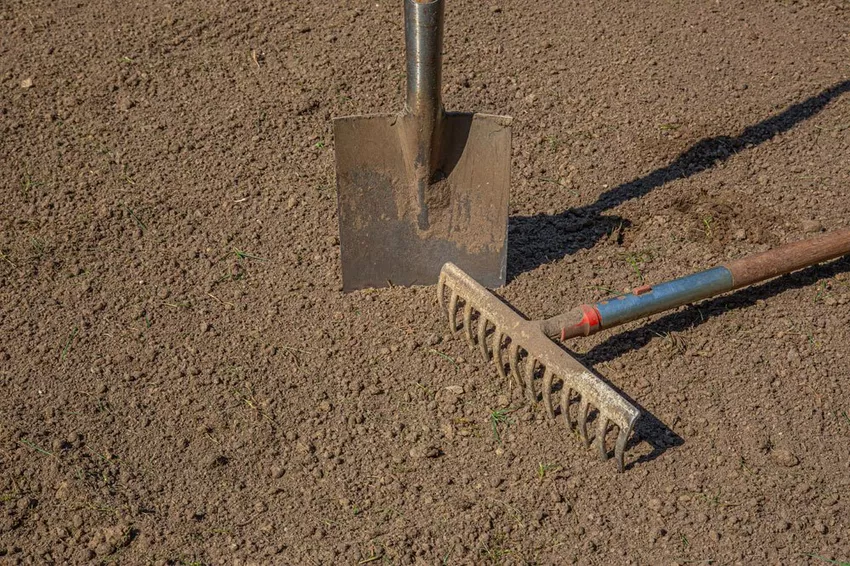 Before setting the posts and digging any holes that may be required, the ground under the fence should be leveled and leaves and branches removed. To ensure that the posts are later in a line, the guideline is stretched first. To do this, a small wooden stake is rammed into the ground at the beginning and end of the fence side and a guideline is attached to it in such a way that a straight line is specified for the posts. Then the position of the posts is marked according to the previous planning.
4. Set up posts» Tip:
To be on the safe side, check the distances after each new post. Due to the attachment in the ground, there may be small deviations.
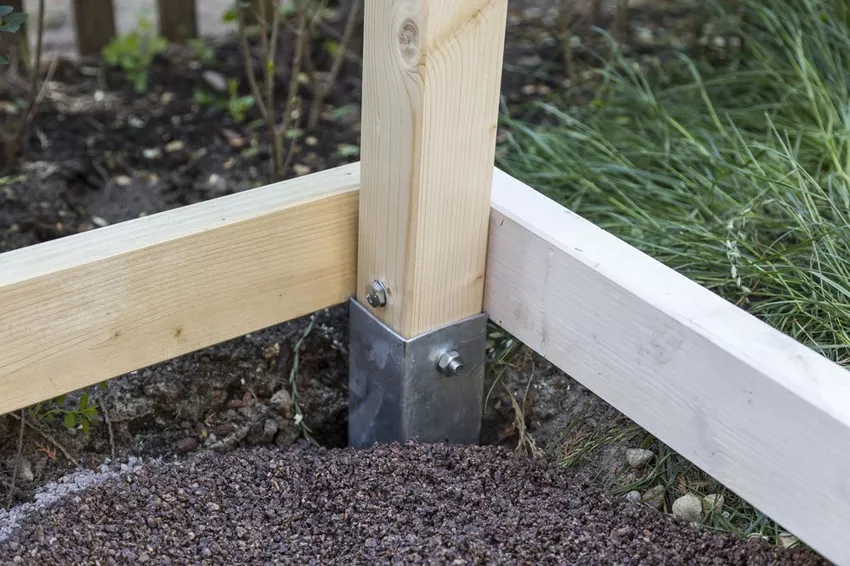 If the wooden fence is to be a picket fence, the sharpened posts can be hammered directly into the ground. For all other types of fence, a joist hanger or drive-in sleeve is recommended so that the posts are better protected against moisture and rot and are more stable.
If the ground is firm, natural ground, drive-in sleeves can be used to attach the posts. These are driven into the ground at the desired location along the guideline using a squared timber and a malletbeaten. Any minor differences in height in the terrain can be compensated for by gradations.
If the soil is freshly filled or very sandy, joist hangers must be used. A hole the width of a spade and 30 - 40 cm deep is dug for each post. The holes are then filled with concrete to just below the top edge. The post bases are then placed in the concrete along the guideline.
» Tip:
If you want to save yourself having to mix concrete, use quick-setting concrete. This is poured directly from the sack into the hole and then watered according to the instructions.
A spirit level and the straightedge are used to check whether all post supports are in line and plumb. You can achieve a more precise result with a cross line laser. Small corrections can be made in height and sideways with a squared timber and a hammer.
As soon as the concrete is firm (not necessary with the drive-in sleeves), the posts can be set up and fastened with screws.
5. Attach battens
 If the slats are attached horizontally, they can now be screwed directly to the posts. In the case of vertical slats, the horizontal support slats must first be attached to the posts. The fence slats can then be screwed onto these. A narrow wooden board of the desired width is very helpful to ensure that the slats are evenly spaced. It is simply held between the fence slats and thus provides the even distance from top to bottom, slat for slat. A squared timber, which is placed under the slat, ensures an even height on level ground. However, to be on the safe side, you should constantly check this with the help of a straightedge and a spirit level.
Wooden fence built yourself - don't forget to paint!
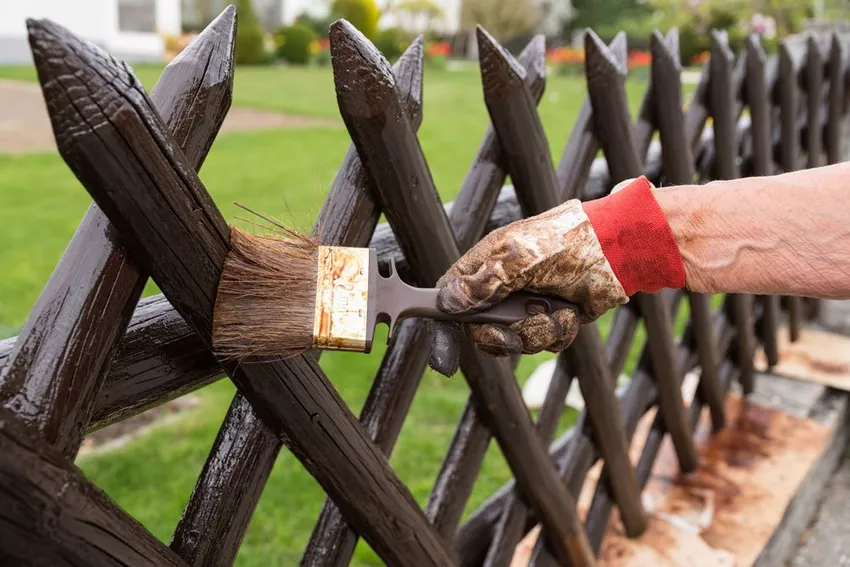
If the post bases were placed in a concrete bed, this is covered with some soil after it has dried. Anyone who has not already treated the wooden elements with wood preservative before erecting the fence should do so now so that the self-built wooden fence can retain its full splendor for a long time.
Build your own wooden fence - video instructions

By loading the video, you accept YouTube's privacy policy.
Learn more
Load video
Always Unblock YouTube