Cherries can naturally be propagated through their pits. We explain here which ones are suitable and how germination is sure to succeed.

Cherry trees enrich every garden. In addition to the juicy summer fruits, the blossom in spring is also a real eye-catcher. If you want to grow your own cherry tree from a seed, you have to consider a few things. With the following instructions, you can succeed in growing a he althy and stately fruit tree from a cherry stone.
A little digression into fruit tree propagation
Put a cherry stone in the ground and wait to see which plant develops on it. This is indeed a little botanical adventure that is not without risk. So it cannot be assumed that the tree will later bear the same fruit as the mother plant of the potted cherry stone.
Gardeners play it safe and use grafting instead of the cherry pit method. By grafting the scion (another part of the tree) onto a rooted part of the tree called the rootstock, the desired properties can be obtained.
Find the matching cherries
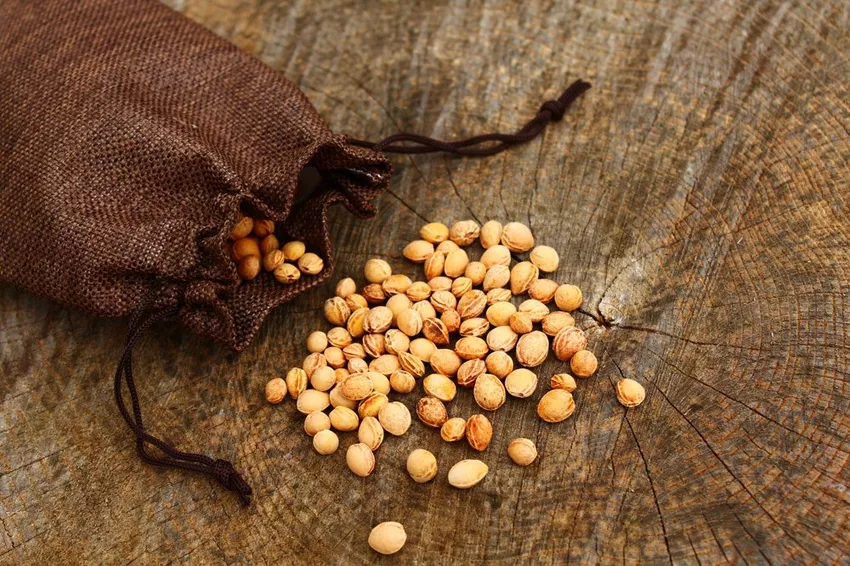
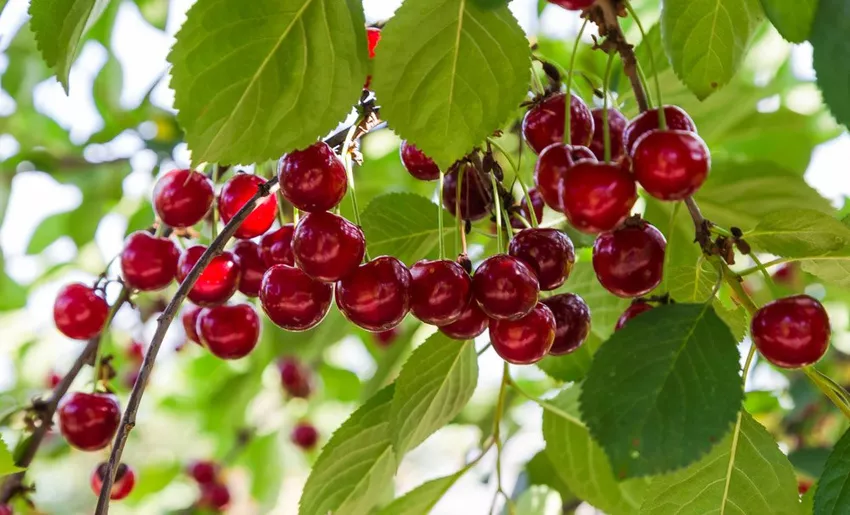
Not every cherry stone will sprout automatically, so several stones should be planted. Fresh cherries picked straight from the tree are best. The chances of success with partially overlaid cherries from the supermarket are correspondingly lower.
Generally there is a choice between sweet and sour cherries:
- Sweet cherries:
→ wide range of products
→ sweet and tasty
→ plants less resistant - Sour cherries:
→ easy to grow
→ robust
→ hard to get fresh goods

Sprout cherry stones - this is how it works
Eat delicious cherries and then put the stone in the ground - unfortunately it's not that easy. The cherry stone must first be stimulated to germinate. For this he needs a cold shock.
This is easiest when the cherry stones are planted outdoors in early autumn. In addition to constant moisture, three to five months of cold are required for germination.
Anyone who chooses sweet cherries should know that this varietyprefers warm weather to the cold. For a bountiful yield, it may be advisable to pack the cherry stones in warm peat moss for about two weeks.
This works like this:
1. Place peat moss in a suitable container or bag
2. Add lukewarm water
3. Wait about eight hours
4. Squeeze out excess water
5. Cover the container with Provide air holes
6. Leave the bag slightly open
7. Add the cherry stones to the peat moss
8. Leave the cherry stones in the warm moss for two weeks
Tip: The cherry stones should be checked regularly. Discard any moldy kernels.
Stratify Cherry Stones
Now the described cold period follows. The peat moss can still be used for this. A mixture of sand and fiber peat is also suitable. Moss or sand is well moistened, but not completely soaked, because mold must always be expected.
The cherry stones are kept cool in the peat moss. The temperature should be three to five degrees. This makes the upper part of the refrigerator an ideal place to store it.
Now it is important not to forget the cherry stones in the refrigerator, because the cooling should last for at least three months. Some varieties like it cool for up to five months. The cores should be checked at least once a week. Excess water should be poured off. If moss or sand mixture threatens to dry out, it is watered again.
Plant out cherry stones

Spring is the ideal time to plant out the pre-treated cherry stones.
Location and substrate
Cherries do best in a sunny spot. When planting, it is important to remember that the trees will grow larger and that there should be enough space to neighboring plants or objects.
For the cherry tree to develop well, fertile and sandy soil is a prerequisite. The pH should be neutral to slightly acidic. Clay soils are unsuitable for the cultivation of cherry trees. Cherries have a taproot, which can only spread well in loose soil.
Planting cherry stones - step by step
1. Select location
2. Clean the soil, loosen it and ensure good drainage
3. Dig small holes with your fingers or plant spikes (maximum 2.5 centimeters deep)
4. Note the planting distance (30 centimeters when growing)
5. Put the cherry stones in the planting holes
6. Cover the cherry pits with substrate (with sand when planting in autumn, with soil when planting in spring)
7. Mark the planting site
8. Cover the planting site with wire mesh
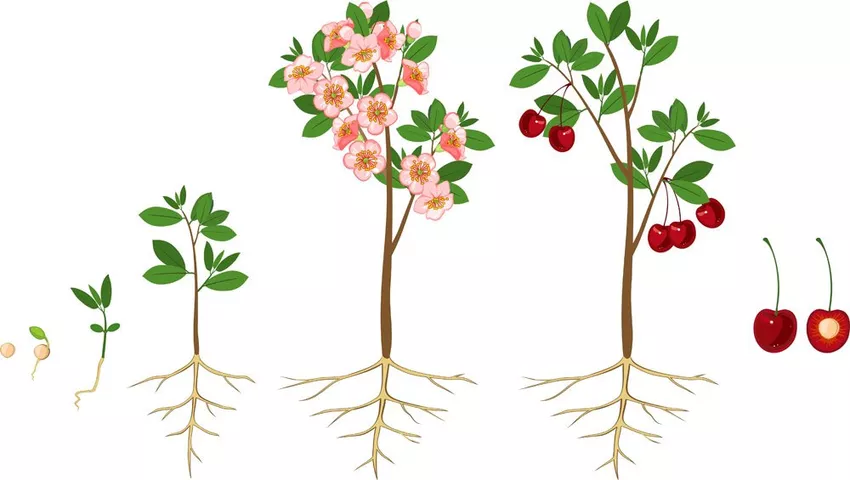
As mentioned at the beginning, a young plant will probably not develop from every cherry stone. Therefore, it is worth bringing several cores into the ground. When planting in the fall, it is filled with sand so that the frozen soil does not prevent the plants from sprouting. The mesh screen protects against pests.
Growing cherry trees requires patience. If the stratification measures described have been observed, the first sprouts should develop a few months after planting. It can take a year for the germs to finally break through the soil.