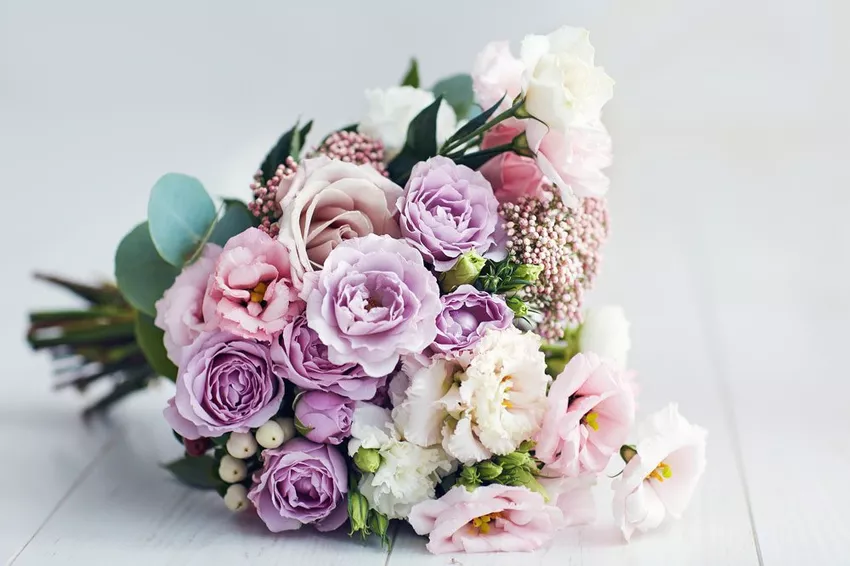
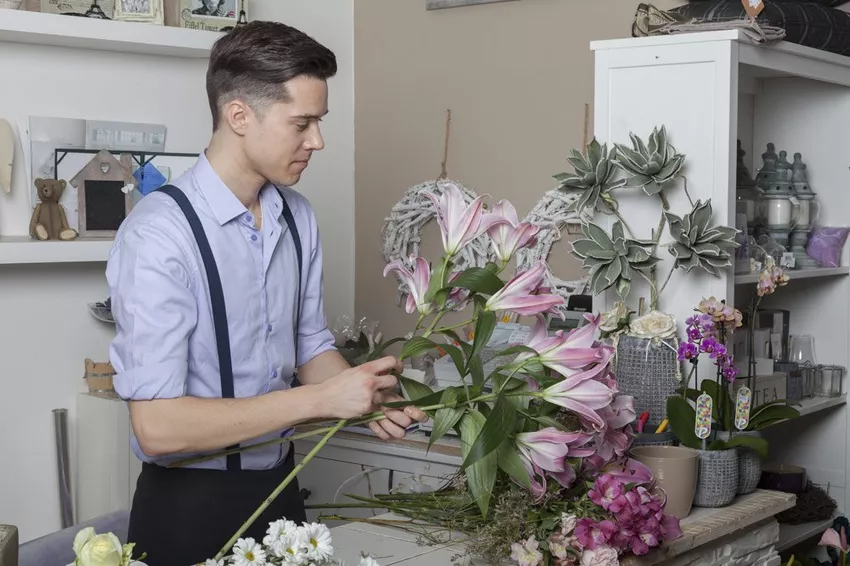
If you have a lot of cut flowers in your garden, you can tie a bouquet yourself with a little skill. We'll show you how.

Flowers say more than a thousand words. Pretty tied bouquets of flowers are often given as gifts on a wide variety of occasions. But colorful bouquets of flowers also set wonderful accents in your own four walls.
You can easily buy bouquets of flowers in a flower shop or order them online on time. I've been doing this at Fleurop for years. But since most of them have flowers in their garden anyway, it makes sense to tie a bouquet yourself. This bouquet is then much more individual and of course also cheaper. So you or the recipient can enjoy the bouquet, but also the very personal creativity.
Step by step to your personal masterpiece
To make a bouquet, you need a few tools and a bit of skill. It's not the easiest job, but with a little practice, you'll soon be gifting a bouquet of flowers you've made yourself.
Materials for tying flowers
- a sharp knife
- Rose Scissors
- binding wire
- Floral Ribbon
- many beautiful flowers
- Binding Green
- possible decorative items
Step 1: Choose flowers
For a nice, big, compact bouquet, it's best to choose around 15 flowers. Make sure the flowers aren't about to fade. Instead, choose flowers that are still closed, so the bouquet will last a little longer.
Step 2: Remove leaves from stem end
Remove the leaves, thorns or other plant parts that are irrelevant for the bouquet from the ends of the stems with a sharp knife. The part of the bouquet that will be in the water afterwards should not contain any plant remains. These would later cause bacterial development and cause the bouquet to wither quickly.
Step 3: Choose a flower as the central point
Now you can start binding. To do this, take a flower with the largest possible bloom. This forms the central point in the bouquet. Should this flower somethingunstable, you can also wrap it with binding wire and give it the necessary support. Now place the first selected flower in your left hand so that you can complete the bouquet with your right hand.
Step 4: Tie in a spiral
 Now alternately take a new flower and foliage to loosen them up and pin them together in a spiral. Put the flowers and leaves together in such a way that there is a harmonious end result. The flowers are always held between thumb and forefinger. Try not to change stance.
Hold the bottom end of the new flower and place it at an angle on top of the existing bouquet. Make sure that you always tilt the other flower stems in the same direction. This has two advantages. On the one hand, the flowers hold themselves almost all by themselves, so that tying them together later becomes child's play. On the other hand, in this way you avoid the flowers squeezing each other and thus interrupting the water supply.
Step 5: Twist the bouquet
Turn the bouquet every now and then to see if the big flower, the focal point of the bouquet, is still in the middle.
Step 6: Fix small optical errors
When you've basically finished arranging and the bouquet has reached the optimal size, small errors can now be eliminated. Gently wiggle back and forth to get misplaced flowers in place. For a perfect overall picture, you should make sure that the center of the bouquet should also be the highest point in the bouquet.
Step 7: Shorten flower stems
Before you tie the bouquet together, you should shorten all the flower stems to the same length with rose scissors. Make sure the pruning shears are sufficiently sharp to avoid crushing the stems at the bottom. You should also cut the ends at an angle. This has the advantage that the absorption surface for water and nutrients is large enough to give the flower its full strength.
Step 8: Tie the bouquet together
Now all you have to do is tie the bouquet together. To do this, take about 20 to 30 centimeters of ribbon and wrap it around the bouquet. Hold one end of the ribbon with your thumb, which is also holding the bouquet, to keep some tension. Then wrap the ribbon around the bouquet three times. If you now have the feeling that the binding area is tight enough,you can tie the two ends of the ribbon together. If you have the feeling that the tying area is not tight enough, it is best to try tying again from the beginning.
In this video you can take a closer look at each individual step. Enjoy watching!

By loading the video, you accept YouTube's privacy policy.
Learn more
Load video
Always Unblock YouTube
Two extra tips
Tip 1: To ensure that the bouquet lasts as long as possible, it is important to follow a few care tips. At blumenshop.de you will find helpful tips for caring for bouquets.
Tip 2: Before the first flowers droop, you can dry the bouquet. So you can benefit from it for many years to come.