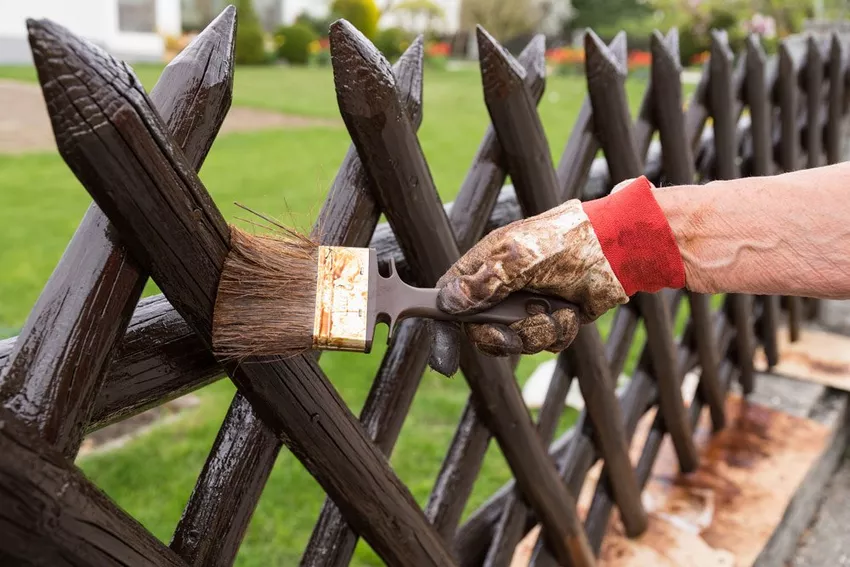
Wooden fences are exposed to the weather without any protection. To keep them looking good years later, you'll need a coat of paint every now and then.

The flowers are blooming, the fruit trees are growing and the terrace is shining in new splendor - paradise on earth for every hobby gardener. Unfortunately, the garden fence looks pretty battered from last winter.
Wood is very vulnerable and must therefore be cared for regularly. Without adequate protection, the fence would gradually rot. Even those who buy their wood for the fence new from the hardware store cannot avoid painting it. The wood available there is usually pressure-treated and thus has basic protection. However, further measures are necessary for coloring or extended wood protection.
Step by step to the new look
Clean the fence
If the fence is a few years old and the paint is already starting to peel off, it's time for some maintenance.
Remove moss and old paint from the fence. The moss can be removed quickly and easily with a high-pressure cleaner. But a brush and some soapy water will do the job too. Loose paint residue can be easily removed with a wire brush.
You should carry out the cleaning procedure a few days before painting, as the wood has to dry thoroughly before it can be painted.
Preliminary work cannot be avoided
Wherever paint is used, splashes and small optical errors often cannot be avoided. So that you don't spoil the bird house, mailbox etc. with the paint, you should cover everything in advance and remove various decorative items. The paved path is also not immune to paint splashes and since not everything can be removed afterwards, you should also protect this with a tarpaulin.
» Reading tip: Painting paving stones - step by step instructions
First coat of paint
If the wood is really dry again after cleaning and all belongings are protected, then you can start painting. The first paintserves as a base. It is therefore sufficient if you only apply it thinly.
» Caution: Note the manufacturer's drying time!
MY TIP:
Gardening gets in your back. Especially when painting a fence. A mobile seat allows you to work comfortably.
✔ enough storage space for work utensils
✔ loadable up to 130 kilograms
✔ material: tubular steel
✔ comfortable seat
Paints, varnishes and glazes
The range of paints, varnishes and glazes in the hardware store is large. There are different means and accordingly different colors. The two most commonly used agents are wood preservative glazes and wood preservative paints. I have briefly summarized the differences for you here.
Of course, wood can also be varnished, but it should be said that it is very time-consuming. (Reading tip: Repainting wooden garden furniture - step-by-step instructions) In addition, a layer of paint no longer allows the wood to breathe and the paint quickly flakes off again. Varnish is therefore not recommended, especially for wood, which is constantly exposed to environmental influences.
- Preservative stains
Preservative stains are probably the most common way to paint your garden fence. They come in many different shades of brown, from light brown to darker brown. The advantage of these glazes is that the style of the wood with its grain is retained. Since most people want exactly that, that would be the optimal solution. Another advantage is that the glaze does not flake or crack, so sanding or brushing before the next coat is not necessary. - Preservative Paints
In addition to wood preservatives, there are also wood preservatives. Here you have a wide range with many different colors. In the case of wood protection paints, however, the garden fence must be primed beforehand in order to prevent resin or tanning agents from penetrating. The disadvantage of the right wood protection paints is that the areas have to be completely sanded down when repainted and the fence has to be primed again.
Whether paint or glaze - they are ideal for protecting the wood from fungi and other organisms. Unfortunately, they are also poisonous. There are now also wood preservatives that are much better tolerated - recognizable by the Blue Angel. A closer look is definitely worthwhile. However, you should still wear a respirator when painting. (Reading tip: Öko-Test - wood stains for inside and outside)
fencegrind
When the first layer of paint has dried sufficiently, you should roughly sand the wood. Not to remove the paint again, but to roughen the material so that the final layer of paint or glaze adheres better.
» Note: Remove residual dust with a dry cloth.
The second coat of paint
Enough with the preparatory work - now your fence is getting the finishing touches. Now apply the desired paint or glaze evenly to the wood with a brush or roller. If it is very cold outside, you should warm up the can or bucket briefly on the heater. This makes it easier to apply the color.
The deleting isn't just done casually, take enough time for it. Depending on the size and length of the fence, including the drying time, it can take a whole weekend. But let's be honest - a well-kept garden fence fits optically much better into the cozy flair of a property, doesn't it?