Whether made of concrete, natural stone or brick: paving a garden path is not rocket science. Even amateurs can pave a garden path with our instructions.
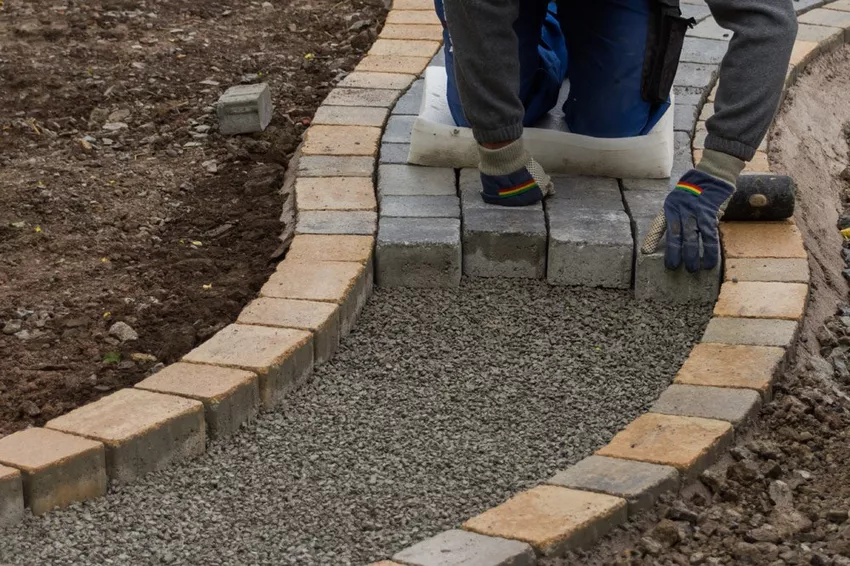
To get from A to B without stepping on the beautiful lawn, every garden needs garden paths. How these should look is a matter of taste. You can create paths in the garden out of gravel, paving stones or natural bark mulch, for example. However, not only the look should play a role in the decision, but also the functionality of the material.
Bark mulch and gravel, for example, lie loosely on the path and only solidify over time. You'll also need to replenish the bark mulch from time to time. And with the gravel, you're going to have a lot of weed problems.
Cobblestones, on the other hand, are particularly durable and have optimal surefootedness right from the start. Even if paving a garden path is initially associated with higher costs, this variant offers the most advantages. In addition, cobblestones can be painted if they have lost their color over time and are also very easy to clean.
»Recommended reading: Cleaning paving stones - step by step instructions.
Find the right cobblestones
First of all, you need to choose the right cobblestones. This is certainly not that easy, as there is a large selection of different materials and price ranges on the market. However, the large selection also has something good, because at least there is something suitable for every taste and garden style. We can recommend these stones to you:
➤ concrete blocks:
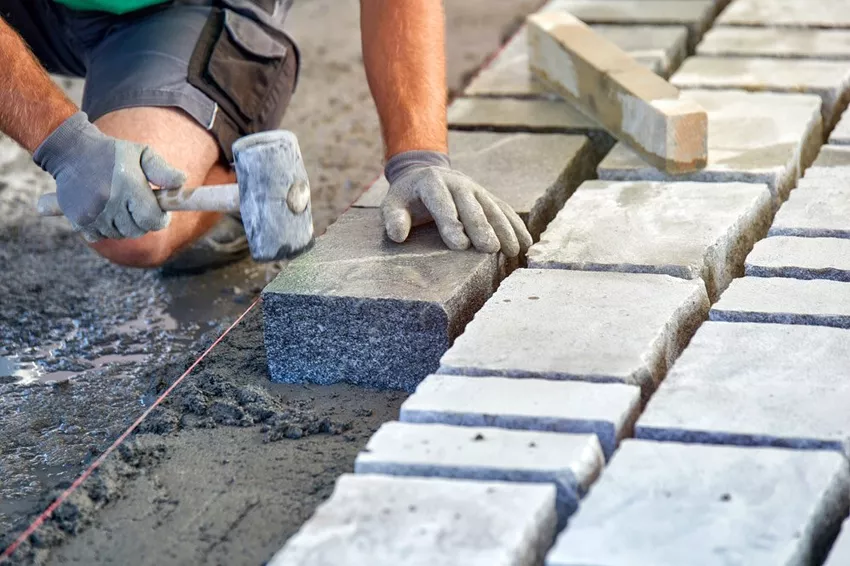
Among the concrete blocks you will now also find those that are deceptively similar to natural stones, but cost many times less. Concrete blocks often also have a dirt-repellent surface and are very durable and weather-resistant.
➤ Clinkers and bricks:
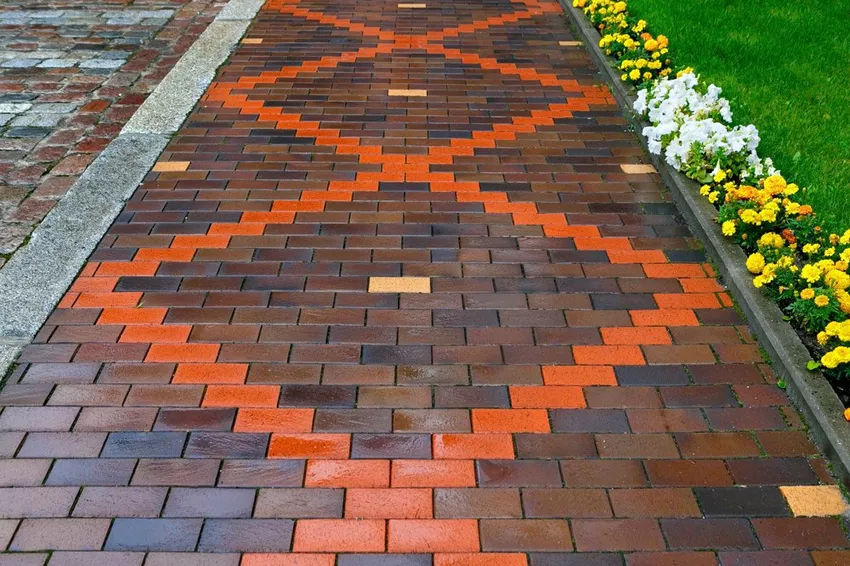
Clinkers and bricks are made of clay. They are characterized by great hardness and frost resistance. In the meantime, there are no longer only the typical red specimens, but also violet, bluishgray and ocher yellow variations available in stores.
➤ Natural stones:
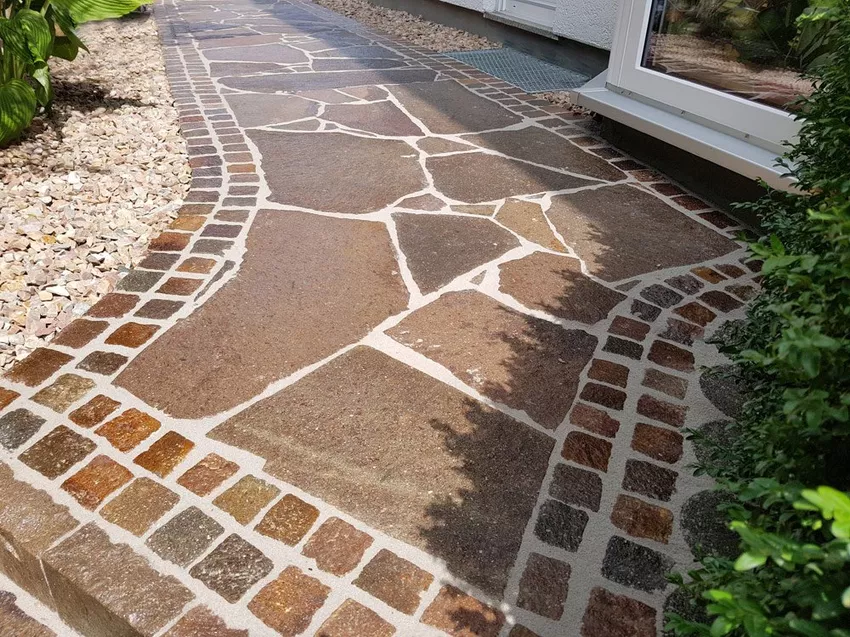
Natural stones made of bas alt, granite or porphyry are very expensive, but they are colourfast and extremely hard and durable. Again, you will find a large selection of shapes in different price ranges.
Instructions for laying paving stones
➥ Step 1 - Preparation:
Once you have found the right cobblestones, you can start preparing. Once you have planned the course of the path, you need to make sure it is properly substructured, otherwise you will not be able to enjoy your new garden path for long.
The area to be paved must therefore be excavated first. To do this, you should mark the edge of the path with wooden stakes and stretch a string along the path on both sides. Calculate enough space so that you can later lay a curb for additional fastening.
➥ Step 2 - Excavate:
When excavating with a small excavator or spade, you should excavate the soil so that the depth of the excavation is at least 20 centimeters below the finished height of the paving. When considering the depth, however, also use the height of the future base course and the size of the paving stones as a guide.
The uncovered area must be completely level, otherwise the paving stones will not be level later, which could become a tripping hazard. In addition, rainwater could collect in depressions, which in turn could lead to the sub-base and thus the stones sinking. When excavating, you must therefore always carefully level out uneven areas.
Hint:
If the subsoil is not stable enough, you can solidify it with some coarse gravel or quicklime.
➥ Step 3 - Place curbs:
Once the excavated area is smooth, you can place the curbs. It is best to create a concrete bed so that the curbs are optimally anchored.
➥ Step 4 - Apply base layer:
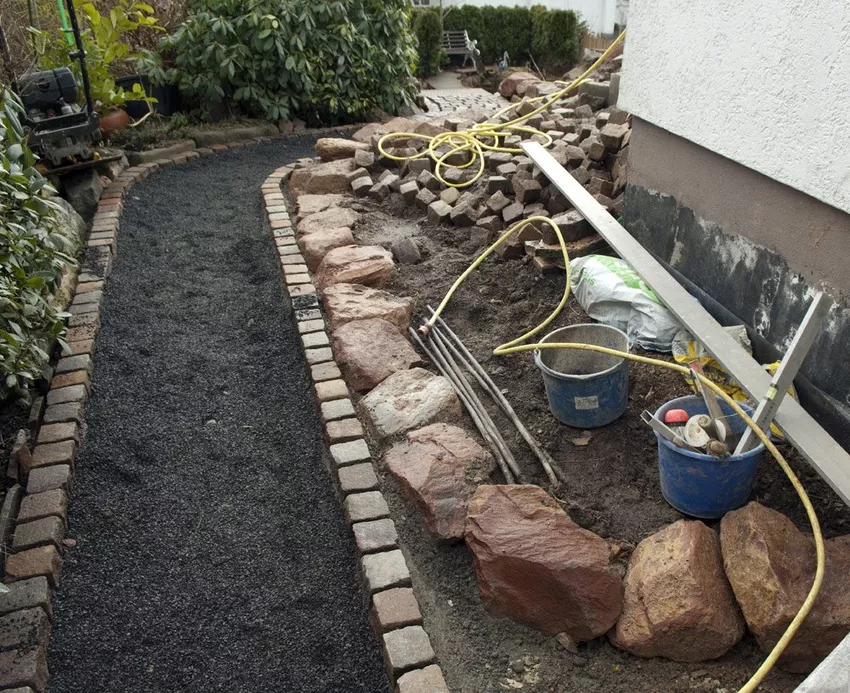
Once the curbs have been laid, the next step is to apply a base layer. This is necessary so that rainwater that penetrates through the joints can seep into the ground and the garden path is not flooded. You can use gravel or crushed stone for the base course. The decision for a specific material depends on the required load-bearing capacity of the path. If the garden path is heavily frequented, you shouldPrefer crushed stone to gravel. On the other hand, gravel is perfectly adequate for simple garden paths.
The base layer should be between 10 and 30 centimeters high, depending on how deep you excavated. After applying the material, you still have to compact it with a vibrating plate so that the substructure is nice and stable.
Exception:
If you want to fill the joints with mortar later, the base layer is of no use, since no water can seep through. When laying out the garden path, however, you have to build in a slight incline so that the rainwater can run off to the side. Alternatively, the installation of a drainage is possible.
➥ Step 5 - Lay the paving stones:
Before the paving stones can finally be laid, you still have to apply a layer of sand about three centimeters thick (leveling layer). This is then the bed in which you put the paving stones. And that, in turn, can be done according to your personal ideas. It is only important that you place the stones on the sand layer and carefully tap them with a rubber mallet.
➥ Step 6 - grout paving stones:
The distance between the individual paving stones is entirely up to you. However, so that the stones are also nice and stable, you have to fill the joints afterwards. You can do this with sand or grout. Synthetic resin-based joint mortar, for example, is particularly resistant and permeable to water.