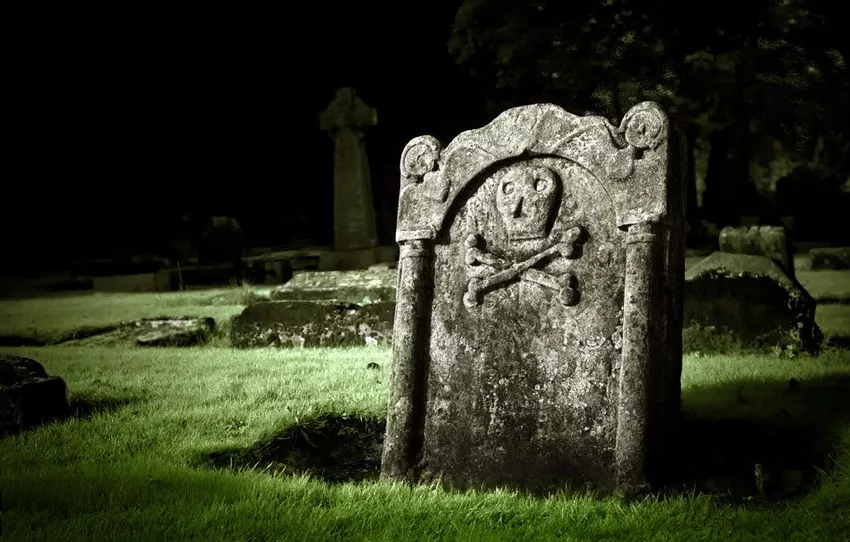
What would Halloween be without a garden to give you goosebumps? Probably a pretty boring one. So here are instructions for a spooky tombstone.

Many great festivals are celebrated throughout the year, which are especially fun for children. Because then great decoration is always bought to decorate the house and the garden and thus beautify it. Many decorations can also be made by yourself. This saves money and is often a lot of fun. Children in particular are later very proud of the masterpieces they have created themselves. Halloween, for example, is such a festival for which you can design many decorative items yourself. For example, you can carve creepy pumpkins and make a scary-beautiful tombstone for the front yard. This gives the garden a mystical flair and makes every Halloween party a unique experience.
In the cemetery there are always large tombstones in the form of a cross, small oval ones and also large square ones. Some tombstones also have a saying and other large tombstones are decorated with patterns. To get some inspiration, you can simply look at some gravestones on the Internet. There you will find many great models that you can build and put in the garden for Halloween.
This is what you need for a Halloween tombstone
No matter which gravestone you choose: the same materials are always required. It makes sense if you prepare all the required materials in advance. So you can later go to work relaxed without having to constantly look for utensils. You need:
- a thick styrofoam plate
- Knife with a smooth cutting surface
- pencil
- a pen (as thick as possible)
- a saw or bread knife (should be serrated)
- Styrofoam glue or hot glue gun
- Aerosol cans in black
- Acrylic paints (white, grey, black)
- Brushes
You can buy the styrofoam plate in any hardware store for little money. You can also use watercolors instead of acrylic paints. However, you must have the tombstonethen varnish so that the color holds even when wet.
Halloween Tombstone DIY Instructions
Step 1:
First, print out a template for the gravestone. You can find countless variations of this on the internet. It is best to start with a template that is not too complicated to replicate. Later you can increase the difficulty and craft more challenging tombstones. Basically, all tombstones are made in the same way, regardless of whether you choose a simple or an elaborate tombstone.
Step 2:
If you have the template next to you, you should start by drawing the outline of the gravestone on the styrofoam sheet with a pencil. If there are several round elements on the template, you can use a saucepan, glasses or plates to help. Of course, working with a compass is also possible.
Step 3:
Now you can cut out the tombstone. You should use the bread knife or the saw for this. With a jagged cutting surface, the tombstone is cut out in no time at all. However, since Styrofoam causes a lot of dirt, it is best to do this work outdoors.
Step 4:
Once you have cut out the gravestone, you can start decorating it. It doesn't matter whether you paint crosses or the lettering RIP - there are no limits to your imagination. This work is best done with a thick felt-tip pen. You can still make corrections at any time, because as long as the patterns are not yet carved, you can still change the decorations.
Step 5:
Now it's time to carve the painted patterns out of the styrofoam. For this you should use a knife with a smooth cutting surface, such as a cutter knife. You have to carve the decorations about 3 centimeters deep into the styrofoam. It is important that you work very precisely and accurately.
Step 6:
If you are satisfied with the decorations, you can use the spray can. Now spray the gravestone completely with black paint. You should make sure that you spray the paint evenly. Spray the paint into the carved decorations as well. This creates a great effect later. Once the tombstone has been sprayed, you need to let the paint dry for a few hours.
Important: Because of the fumes associated with this work, always perform this step outdoors.
Step 7:
Is the tombstonedry, you can paint the decorations with the white paint. Here it depends entirely on taste whether the decorations should be white or remain black. You can also paint the patterns to your heart's content. The paint must then dry well again.
Step 8:
To achieve a mystical effect, you can now paint over the entire tombstone with a gray color. Here it is important that you only use very little paint and that the paint does not run into the patterns. Simply brush the gray color carefully over the entire tombstone and then let it dry thoroughly again. To give the tombstone the perfect stone look, you can apply a second coat of paint. Here you can decide whether to apply a layer of silver paint or mix gray and white paint.
Step 9:
If the tombstone is dry, you should spray it with clear varnish to be on the safe side. If you have used acrylic paints, this is not absolutely necessary. The tombstone only has to be varnished after using watercolours. Now the tombstone is ready and can be placed in the garden. Just dig it into the bed or fix it to a lawn with long nails.
Following a similar instruction as video:

By loading the video, you accept YouTube's privacy policy.
Learn more
Load video
Always Unblock YouTube