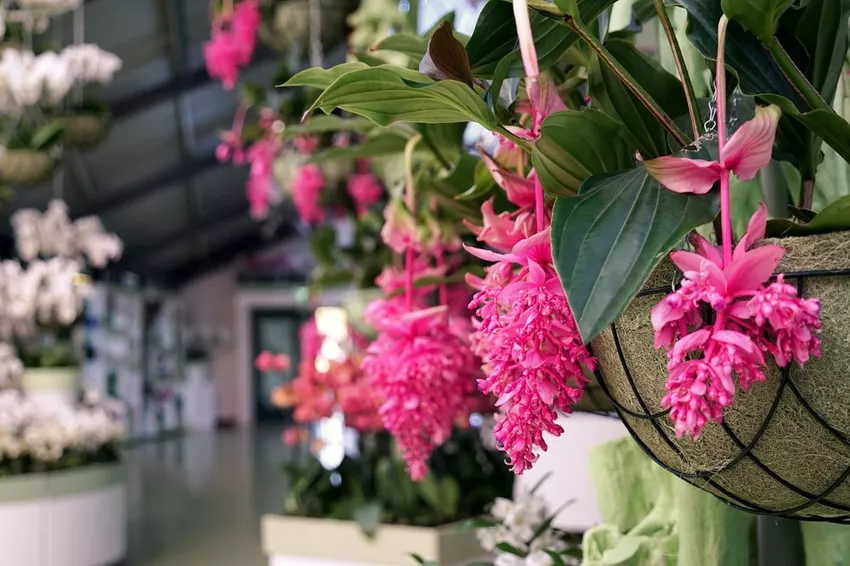
Propagating the medinilla is not necessarily one of the easiest tasks for a hobby gardener, but it is possible. There are two different ways to do this.

The Medinilla (Medinilla magnifica) is a very pretty and distinctive indoor plant, which, however, has its demands and is not really considered to be easy to care for. Propagation is also not child's play.
If you follow the instructions below, you have a good chance of producing offspring with this exotic flowering plant.
The Medinilla can be propagated in two different ways:
- Cuttings
- Mossing
Propagation by cuttings
Propagation by cuttings is generally considered easy and uncomplicated. If certain conditions are met, this type of propagation has potential for success even with the demanding Medinilla.
Time:
The best time to propagate cuttings is in January and February. No cuttings should be taken during the growth phase and during flowering.
Required Materials:
- Cuttings
- Propagation Bed
- Substrate
- Rooting Powder
- Plastic or glass cover
Instructions:
❶ Cut cuttings
❷ Let the cuttings dry
❸ Dip the cuttings in rooting powder
❹ Fill the planter with substrate
❺ Plant the cuttings
❻ Observe site conditions
❼ Root cuttings
The top cuttings are cut in winter. Budding should not have started yet. A cutting should be about eight to ten centimeters long. The chances of success can be improved if the cuttings are dipped in rooting powder, such as this one, before planting. The planter should be filled with a mixture of sand and peat. After the cuttings have been used, a suitable location must be provided.
» Tip: Rooting will only work if the temperatures are constantly high and the humidity is very high.
Temperatures should notbelow 30 degrees, values around 35 degrees are even better. Since very high humidity is also required, the propagation bed should be covered with a plastic or glass cover.
» Caution: The cover must be aired daily to prevent mold growth in the warm, humid climate.
Propagation by removing moss
This propagation method may sound a bit exotic at first, but has little to do with the origin of the plant. Abmoosen is a term that came about when people once made a virtue out of necessity. Where cellulose can also be used today, a leather cover filled with moss used to be used.
In principle, removing moss is comparable to propagating by means of layering. This method is more common. A strand is fed directly from the plant into the ground and covered with soil. The shoot tip sticks out and the underground part is rooted. Later, the rooted plant is separated from the mother plant and grown separately.
Time:
The months of March and April seem particularly suitable for this method of propagation.
Required material:
- sharp knife
- Rooting Powder
- Moss or Pulp
- waterproof container
Instructions:
Perennial branches are suitable for mossing. The selected branch is cut diagonally after the sprouting point to about the middle. The gap should remain open and clearly visible. Rooting powder should be applied to promote rooting. Now the open interface is packed well in moss or in cellulose.
» Tip: Moss has always been used to remove moss and has the ability to support foreign plants in root growth.
Now it is important to keep the wrapped shoot evenly moist. To make this easier, a plastic cup can serve as a cover. The vessel is cut open at the side and attached to the branch with the help of a central star cut. The longitudinal cut is closed again with adhesive tape and the cup is filled with soil. Now nothing can go wrong when watering.
» Tip: Transparent cups have the positive side effect of being able to observe and control the rooting.
Duration of mossing:
This varies from plant to plant. While it only takes a few weeks for fig trees, for example, it can take a few months for the medinilla for the root network to work its way to the rim of the cuphas.
What happens afterwards?
Once sufficient roots have formed, the new shoot is simply cut off at the top and bottom. This is how a new small plant was created, which now has its own planter and can be cultivated separately.
The advantages and disadvantages of the propagation methods
Propagation by cuttings
» Advantages:
- Propagating cuttings is easy and uncomplicated.
- Several cuttings can be cut at the same time. This can very well be combined with repotting or cutting back the plant.
- The cuttings can be placed in the substrate immediately.
- You can easily get several cuttings.
» Cons:
- There are additional costs for the rooting powder, the substrate or the propagation bed.
- The cuttings only root at constant temperatures of more than 30 degrees.
- Constantly high humidity must be ensured.
- Several cuttings have to be cut, the failure rate is high.
Mossing
» Advantages:
- The success rate when removing moss is comparatively high.
- Once a shoot has put down roots, it will most likely grow well.
- There are no additional costs.
» Cons:
- Usually you only get one new plant.
- Mossing off is time-consuming and tedious.
- The plant becomes visually rather unsightly for a while due to the resulting plug.
- It takes months for the roots to develop sufficiently.