Hemlocks can be planted individually or as a hedge in your garden. The plant is quite demanding in terms of location and soil.

The hemlock belongs to the pine family and is also commonly referred to as the hemlock. This is due to the English translation of “hemlock” and can be explained by the smell of ground needles, which is reminiscent of ground elder. Hemlocks can grow into stately trees and with good care can last for hundreds of years. The fate of the tree is practically sealed with its planting. Find out now what needs to be considered when planting the demanding evergreen trees.
Small description of plants
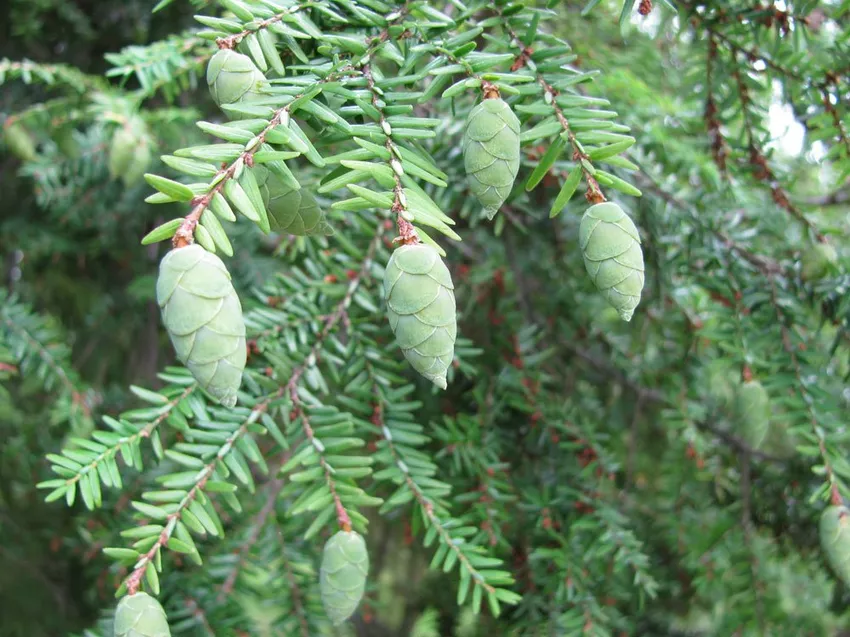
The hemlock has an irregular, slightly ovoid crown. The plants are often characterized by overhanging tree tops and branches. Some species can live up to 1,000 years. Growth heights of up to 50 meters are possible. The needles are arranged round or in two rows and can last for several years. Each needle is equipped with its own resin channel.
Distribution and Use
The natural range of the hemlock runs between North America and East Asia. There the plants grow mainly in wet areas.
» Tip: Hemlocks, formerly native to Europe, became extinct during the last Ice Age.
The hemlock is of little importance for forestry in Europe. In parks and gardens, on the other hand, the plants are more common. Because of its high resistance to moisture, the wood of the hemlock is often used to build saunas.
Plant Hemlock Tree

➙ Planting time
The hemlock is preferably planted in autumn. If you miss this, you can catch up on the planting in spring.
➙ Planting distance
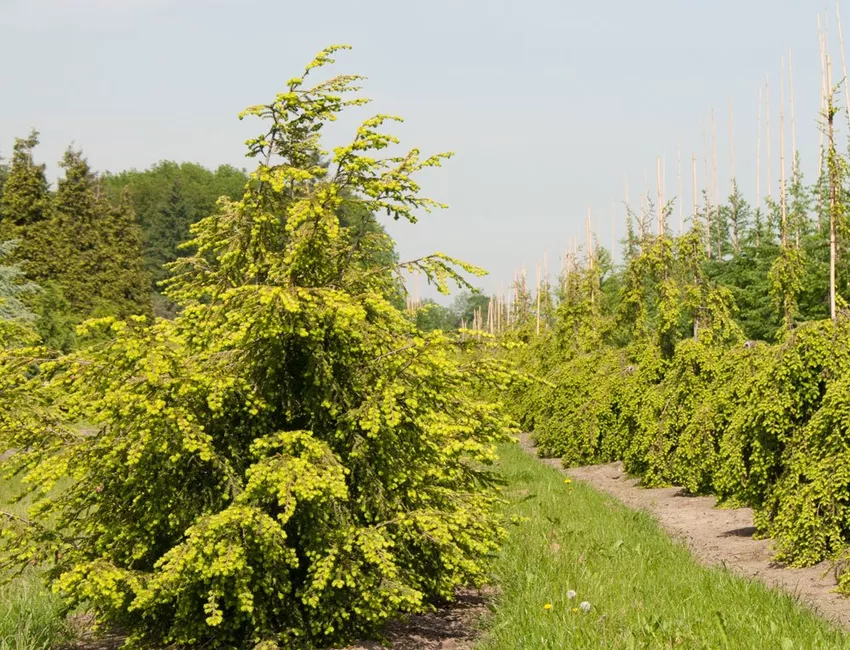
If the plant is to be planted as a hedge, a planting distance of one meter is usually sufficient. Since the hemlock initially grows very slowly, it will take a few years before the gaps are closed and the typical hedge growth can be seen.
➙ Location
The choice of location wantsbe carefully considered, simply because of their size, the trees do not fit into every garden. Although the trees grow rather slowly at first, in later years they cover about half a meter per year and develop into stately plants.
» Tip: There are small species on the market for cultivation in the home garden.
A unique location should be found for the hemlock. Due to the very good pruning tolerance, planting as a hedge is also an option.
A sunny and sheltered location should be chosen. The plants also thrive in semi-shade. The roots do not reach deep into the earth. Although this makes planting and any later replanting easier, the trees are very sensitive to wind and therefore need a location that is as sheltered as possible.
The hemlock feels most comfortable in moist soil in sunny to partially shaded locations that are protected from east winds.» Tip: During a storm, unprotected hemlocks can be ripped out of the ground with their roots.
➙ Distance to buildings
The roots do not go very deep, but form a stable root system, which can branch out to a circumference of ten meters. The distance to the next building should therefore be at least ten meters.
➙ Substrate
The substrate should be chosen with care. Because the plants are quite demanding in this regard. The soil should be rich in nutrients and if possible not bring too much weight. The substrate must be neither too wet nor too dry. Both mean danger for the plant. If the location is too wet, the roots will rot, if the location is too dry, the needles will turn yellow and fall off, and the hemlock will eventually become bare.
➙ Step by step instructions
Select Location
The location is to be determined based on the local conditions and the selected hemlock.» Tip: Always find out how tall the hemlock you have purchased will grow before you buy it. There are clear differences here, which the hobby gardener must know in order to meet the requirements of the plant.
Excavate the ground over a large area
The planting hole is to be excavated over a large area. The hole should be about twice as deep as the root ball and 1/2 to 1 meter in diameter.Water plant
In the meantime, the hemlock is watered. To do this, place the tree in a containerwith water and wait until no more air bubbles rise. Then it can be assumed that the plant has supplied itself with sufficient moisture.Prepare substrate
If you have heavy clay soil, the substrate should be loosened. This is achieved by adding sand.Insert drainage
Put a layer of sand at the bottom of the planting hole. This serves as drainage and allows the water to drain away. This prevents waterlogging from forming.Insert plant and fill in substrate
Now you can put the plant in the planting hole and fill it up with substrate.Press the plant well and water
Then press the soil around the plant and water it sufficiently.➙ Summary Planting Hemlock
| Activity | Explanation |
|---|---|
| Find location | The hemlock is not suitable for smaller gardens. Only selected species reach a low stature height and often grow more like a bush. A wind-protected location in partial shade should suit the heat-sensitive plants best. |
| Prepare substrate | The plants need nutrient-rich and loose soil. Sand can be used to loosen the substrate. The soil must be neither too dry nor too wet. |
| Plant Hemlock Tree | The planting hole should be at least twice the size of the root ball. Before planting, the young plant is completely submerged under water until no more air bubbles rise. If a hedge is to be created, you can two to three plants per meter. |
Transplant hemlock
Trees don't like to move. The choice of location should therefore be well considered and, if possible, retained. From time to time, however, it can happen that transplanting cannot be avoided. For example, if you do not want to move without the tree, construction work is planned at the location or you have found that you have not decided on the ideal location. If the location is too sunny, the plant will often respond with falling needles. Soil that is too moist is a risk of waterlogging. If the roots have already been attacked, the only solution is often to transplant and completely replace the substrate.
Transplanting the hemlock - step by step
- Lift plant out of planting hole
- Control Roots
- Plant on new onesTransport location
- Dig planting hole
- Insert plant
To avoid damaging the roots, the planting hole should be dug as large as possible. The plant is carefully lifted out of the ground. On this occasion, the roots are inspected. Remove rotten or dead root parts.
» Tip: Transplanting is also a good opportunity to prune the hemlock.
The transplanting should be done as quickly as possible. The second planting hole should therefore already be dug and the hemlock planted there directly.