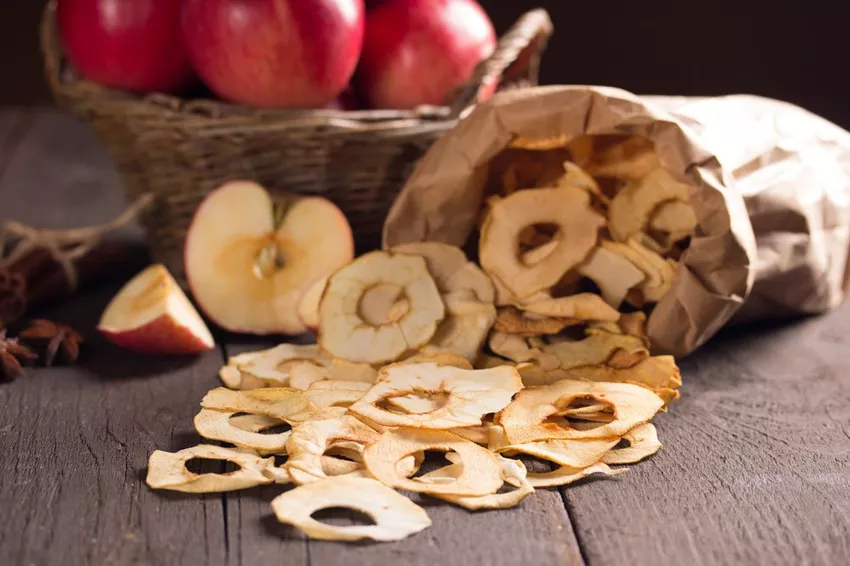
You don't have to be a 5-star chef to dry apples. With the right know-how, you can easily make the delicious apple rings yourself at home.

Who doesn't know you? The delicious dried apple rings! They are quite expensive in the supermarket. You often pay almost two euros for a p altry 125 grams. Far too much.
You can save the money. The delicious rings can also be made at home quickly and easily and, above all, inexpensively, without any fuss. The temptation to quickly eat more than 125 grams is greater here, but that's what they're made for.
In addition, preservatives are added in industrial production to extend the shelf life of the fruit. Since you completely do without it in the private production, the homemade apple rings are also much he althier.
Benefits of Homemade Apple Rings
✔ cheaper
✔ without preservatives
✔ refine as you like
Drying apples made easy
Ingredients and Accessories
- Apples
- apple pricker
- peeler
- Knife
- Cutting Board
- Baking tray with parchment paper
» Caution: The apples should be fully ripe and without spots or damage.
Preparing the apples
Before you start drying the fruit, you need to make a few preparations.
Remove the core from each apple. The best tool for this is an apple corer. Simply pierce in the middle, twist and unscrew the core. The peel is then removed with a vegetable peeler and the apple is cut into thin slices.
If you want, you can use a special vegetable slicer. In this way, all slices are exactly the same size. But even with a knife it's no problem to prepare the apple.
Depending on your taste, you can refine the apple slices with cinnamon, vanilla or other spices. Anything that pleases is allowed. Everyone to their own taste.
Now the apples are ready to dry. But with which method? We have presented you with 3 different methods here
3 Methods to Dry Fruit
❏Oven
The simplest and most well-known method of drying your pome fruit is in an oven. To do this, place the apple slices on a baking tray lined with baking paper and preheat the oven to a maximum of 80 degrees. Now slide the baking tray with the individually placed slices onto the middle rack of your oven.
» Important: During the drying process, leave the oven flap open a little so that the moisture can escape from the apples.
In between, turn the apples once in a while. The apples aren't done until they're completely dry to the touch and no juice comes out when you break the apple. Drying can sometimes take up to five hours. You can then let the apples air dry a little longer.
❏ Microwave
Like potato chips, you can microwave apple rings to dry. However, this is only suitable if you want to dry small portions for one evening. Because the moisture cannot escape in the microwave, you have to expect small failures. Just try it out.
❏ Dehydrator
Drying fruit is much easier and faster with a dehydrator. Here the cut and cleaned fruit is simply put in, the device is switched on and you wait. After a certain time you can remove the fruit and the dried apples are ready.
» My tip: I personally can use the fruit dehydrator from Severin ( available here at Amazon free of charge) for normal private household use. This makes it easy to dry meat, fruit and vegetables.
Storage of the apple rings
Even though the homemade dried apples are certainly delicious, you shouldn't eat them all at once. It's better to make a larger batch at once and divide it up.
The apple rings should never be stored in tightly sealed cans. Here only the formation of mold is promoted. Place your apple rings in air-permeable bags and sachets and hang them up in a dry room. So-called organza bags are very suitable for this.