Opulent flowers only appear if you follow a few tips when caring for orchids. We explain what needs to be considered when watering, fertilizing and repotting.
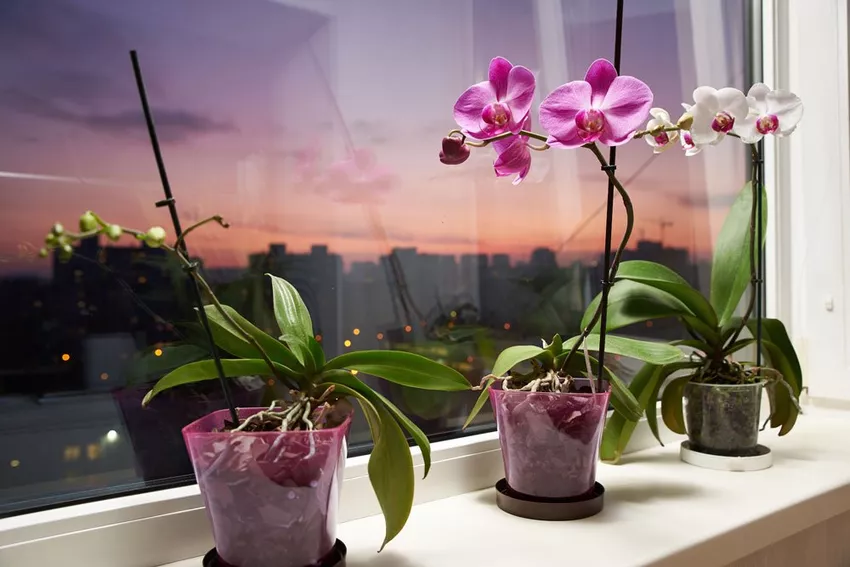 Hardly any indoor gardener can resist the fascination of orchids (Orchidaceae). Caring for exotic plants is a certain challenge, so every plant lover should know what orchids require in terms of light, warmth and moisture. It should be borne in mind that most orchid species grow on trees in tropical rainforests as so-called epiphytes. In this guide, we have summarized the requirements that must be met so that the blooming exotic plants also feel comfortable indoors.
The best location for orchids
In order to find the right location, the natural growth conditions must first be considered. In their original habitat, orchids usually grow in treetops and are protected from intense sunlight by the foliage. In the tropics, the light conditions are relatively constant all year round. In our flower windows, on the other hand, the plant runs the risk of getting too much light in summer and suffering from a lack of light in winter.
Therefore: In summer the location has to be shielded a bit, in winter the window protection can be removed again. Additional artificial lighting is helpful when there is little light. The distance between the orchid and the window pane is also decisive. At a distance of one meter from the glass front, the amount of light has already been halved.
Whether a lot or little light is preferred depends on the orchid variety.
sun-loving orchids
+ Cattleya
+ Vanda
+ Dendrobium
shade-loving orchids
+ Phalaenopsis
+ Bulbophyllum
+ MiltoniaIn any case, orchids need a lot of light. Most orchid species are less well looked after on the south window. Common types of orchids usually do well on a west or east-facing window.
» Tip: The foliage of the orchid shows whether the plants are happy with the light conditions. Dark green foliage indicates thata little more light can be tolerated. A yellowish or reddish leaf color indicates a too bright location.
Orchids do not tolerate large temperature fluctuations or draughts. Set a constant room temperature using your radiator thermostat.
The right location in keywords:
- light
- Penumbra
- high humidity
- Avoid drafts
- Avoid temperature fluctuations
The ideal substrate for orchids
Conventional potting soil is not suitable for growing orchids. In their homeland, most orchids cling to the bark of trees with their roots. The roots are always surrounded by air. In a compacted substrate, the roots of most orchids die off very quickly.
The ideal substrate must give the orchids support and at the same time allow sufficient air to reach the roots and provide moisture. The trade offers special soil for orchids. This is airy and gritty. Bark and peat can be found as the main components in most mixtures. Peat can retain moisture and is itself almost devoid of nutrients. Bark has a large surface area and is structurally stable.
» Note: For reasons of environmental protection, peat is now often replaced by coconut fiber.Cork or styrofoam are often included to make the substrate more airy. Perlite stores nutrients and gradually releases them to the plant. Activated charcoal can neutralize harmful metabolic products.
Make orchid soil yourself
- five pieces of pine bark
- two parts sphagnum
- part Perlite
- part of nutshells
- some pieces of wood
Orchids should be cultivated in the same substrate mixture if possible. They find it difficult to adapt to a change of substrate. After about two years, the plant material is used up and it has to be repotted. If this is neglected, there is a risk of over-fertilization as fungi and bacteria die off and nutrients are released.
Which pot for orchids?
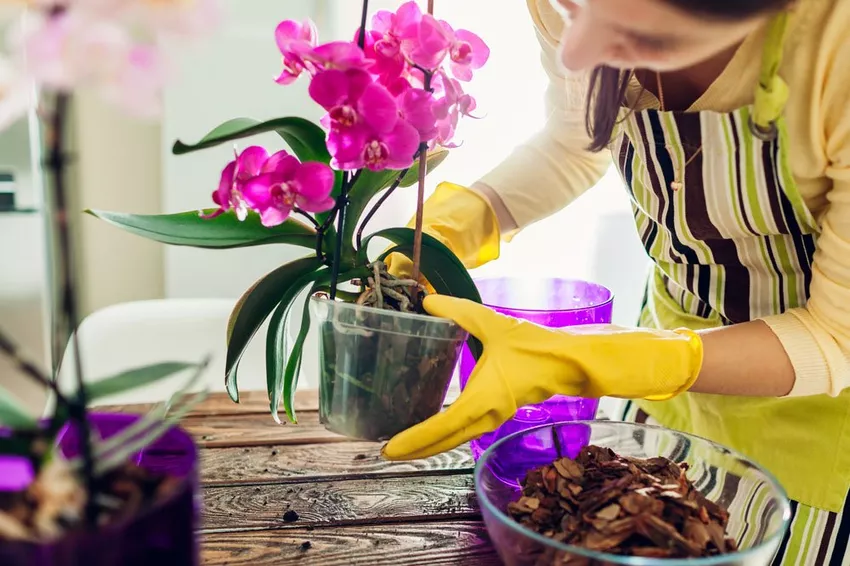 Orchids are usually offered in tall and slender planters. These underline the growth habit of the elegant plant. So that the practical aspect is also served, steps are usually incorporated into the vessel. This gives the plant support and excess water flows into the bottom of the container. This prevents waterlogging.
Translucent vessels made of glass or transparent are advantageous for the photosynthesis of the orchidPlastic. This allows enough light to reach the roots. In contrast to conventional plants, the chlorophyll required for photosynthesis is not found in the leaves of the orchid, but in the roots.
Orchids can also be cultivated in clay pots. These have a porous structure and can therefore store moisture better and help regulate the water balance of the plants.
Some types of orchids, such as Cattleya, do not tolerate damp roots. The plants are cultivated in plastic baskets so that the root ball is better aerated. Coryanthes, Stanhopea and other hanging growth forms are at home in a hanging basket.
Repot orchids
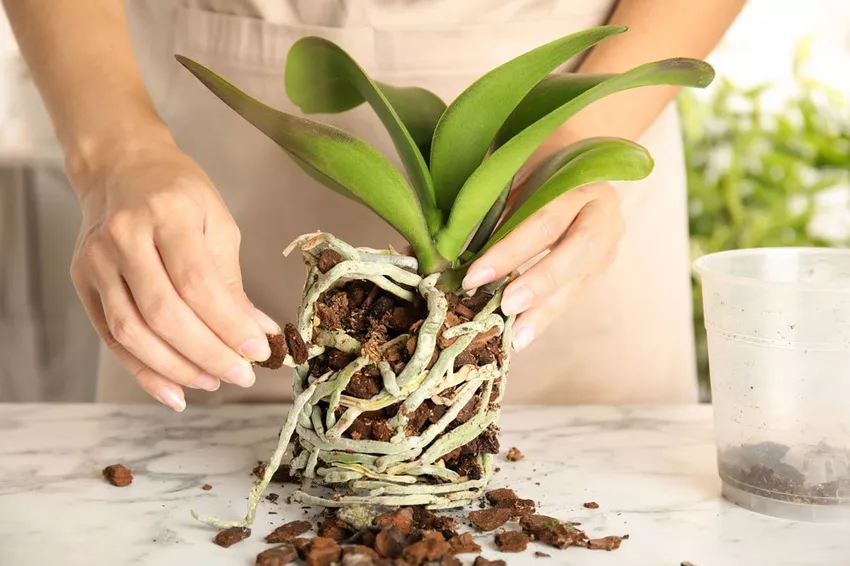 Orchids are preferably repotted in spring. When the first new shoots appear, it's time to move to a new planter.
Repotting orchids - step by step
- Remove plant from old pot
- Remove roots from substrate
- Control Roots
- Select planter
- Fill the lower half of the plant pot with substrate
- Insert plant
- Fill substrate
The orchid is carefully removed from the old planter. It can be helpful to knead the plant pot with your hands. Repotting provides an opportunity to remove dried and rotten root sections.
» Tip: After repotting, don't water until the next day at the earliest. The plants are fertilized for the first time three weeks after replacing the planter.
Watering orchids
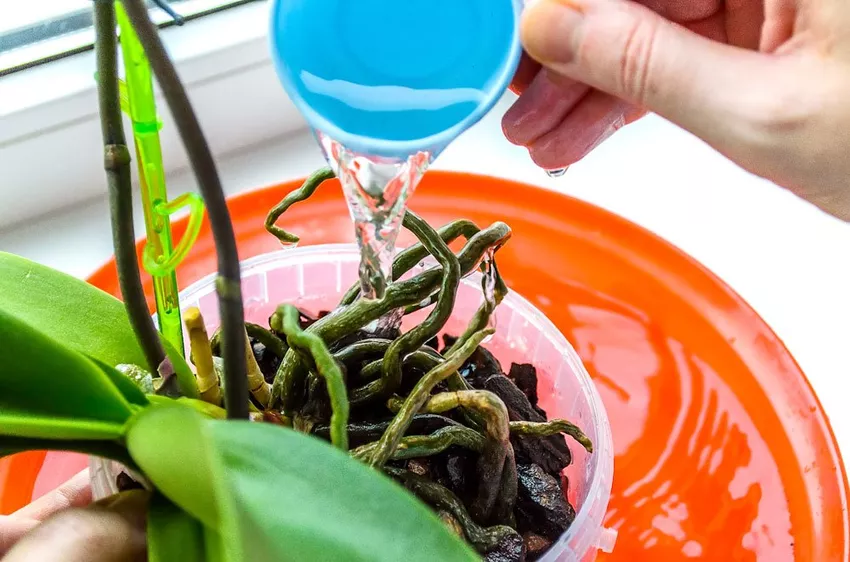 The biggest enemy of the orchid is waterlogging. Most plants do well when the root area is kept moderately moist to slightly dry. The substrate should never dry out completely.
Pouring is preferably done with rainwater. If you cannot provide this, mix tap water with distilled water in a ratio of 2:1.
Orchids are preferably watered in the morning hours. The immersion bath has proven itself when watering orchids. The plants are pressed under water with the root ball at weekly intervals until no more bubbles appear. After the immersion bath, the plants should drain well before they are put back into the planter. The water must not accumulate.
» Tip: When watering, no water should get onto the plant itself. Only the roots are poured or dipped. Accumulated water could build up inaccumulate in the leaf axils and cause putrefaction there.
Fertilize orchids
Special orchid fertilizer is available on the market. This is optimally tailored to the nutrient requirements of the plants.
» Tip: You can also use conventional fertilizer for green plants, but the concentration should then be reduced to about a quarter of the amount indicated.
Orchids have low nutritional requirements. Highly concentrated ready-to-use fertilizers cause the plants to wither quickly. It should be fertilized evenly. Orchids prefer constant environmental conditions, including the supply of nutrients. There is nothing wrong with a low amount of fertilizer with each watering.
Pruning orchids
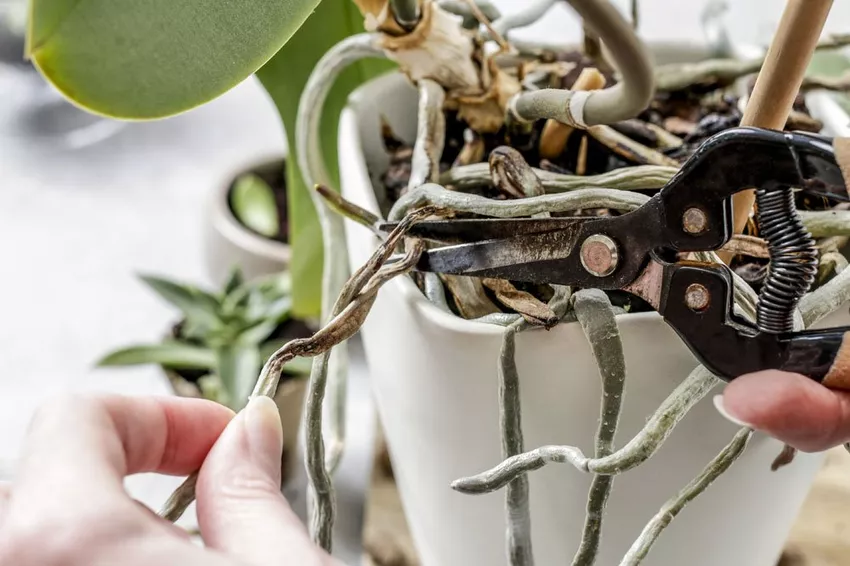 Faded flower stalks are removed regularly. Before cutting, however, these parts of the plant should be completely dry. Only then is it cut back. A stem base with at least two eyes remains. With a bit of luck, the plant will sprout again.
When cutting the roots, spray them with water first. Aerial roots that do not turn green are dead and can be removed. Live aerial roots serve to absorb nutrients and liquid and should only be trimmed if the plant is noticeably rampant.
Excessive development of the aerial roots indicates that the air humidity is too low. This can be counteracted by regularly spraying the substrate with lukewarm water.
Pruning orchids in keywords:
- do not cut off green parts of plants
- Pruning after flowering
- Carefully shorten dried aerial roots
- cut back dried stems to the second eye
Use sharp cutting tools for the cut. A carpet knife or a scalpel can be used to cut straight edges without damaging the plant. If, on the other hand, the cut is crushed with blunt cutting tools, the wound heals poorly and fungi and bacteria can penetrate. The cutting tools must be disinfected before use.
» Therefore our advice: Household scissors are not suitable for cutting orchids, they are usually too blunt.