
Laying garden fleece is very easy if you pay attention to a few important things. So that nothing goes wrong, here are step-by-step instructions.

Garden fleece is not always the same as garden fleece. Because the term garden fleece offers different products for a wide variety of purposes. For example, there are foils and nonwovens that can serve as winter protection for plants, or weed fleece and growth foils.
No matter which type of garden fleece you choose, you should always pay attention to quality goods. A high-quality garden fleece works as a perfect source of heat and moisture for plants and thus promotes their growth at the same time. Another advantage of quality goods is that the garden fleece can be used much longer and sometimes even several times.
How to lay garden fleece correctly
❍ Step 1:
Clean the area to be laid thoroughly by removing old roots and plants, weeds and coarse stonework.
❍ Step 2:
Then work the surface e.g. with a rake to level it somewhat.
❍ Step 3:
Now spread the garden fleece over the entire surface. Fleece webs lying next to each other should overlap by about 10 centimetres. If necessary, attach the garden fleece with ground anchors that are specially available for this purpose (e.g. available here). Such a fastening is essential, especially on slopes!
❍ Step 4:
To plant plants, you must now use scissors to cut X-shaped openings in the garden fleece.
❍ Step 5:
Finally, you have to cover the garden fleece with a layer of at least 5 centimeters of pebbles, for example, or spread bark mulch on it.
Laying weed fleece: My instructions in pictures
11. Clean bed

In the first step, the bed is cleared of coarse debris such as larger stones, old roots and similar things and then leveled.
22. Prepare material

You need that above all, of courseWeed fleece (I had bought this fleece). Also the ground anchors mentioned above, scissors and cutter knife for the cutting and I had a small hammer to hammer the ground anchors into the ground without much effort.
33. Lay weed fleece
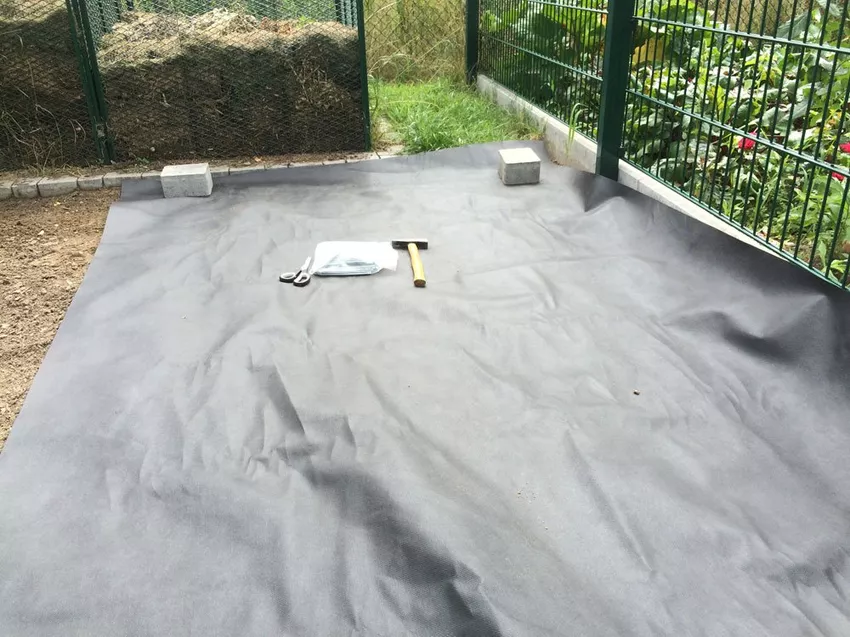
Now you can get started and roll out the weed control fleece. First I laid it out roughly and fixed it with some paving stones so that the wind doesn't blow the fleece away right away.
44. Apply ground anchor
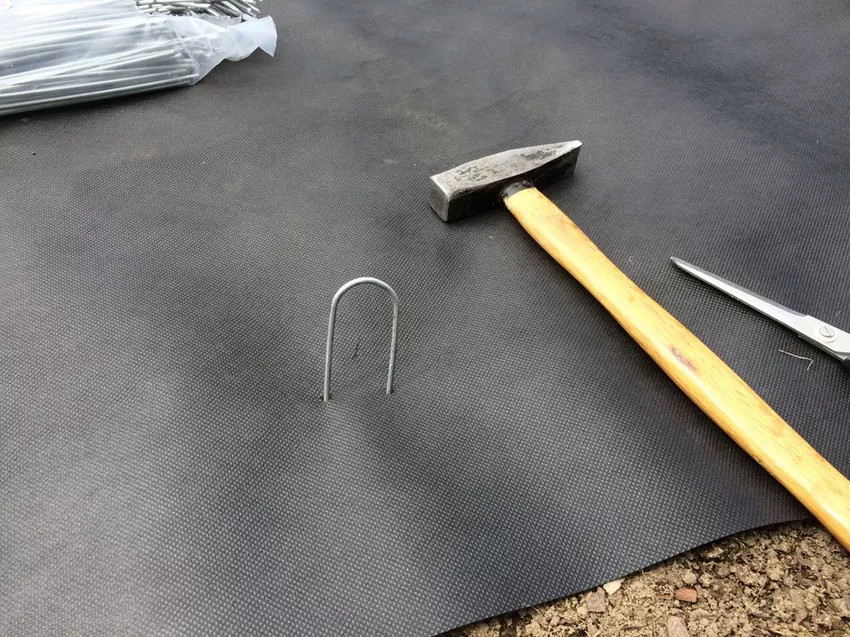
I placed the ground anchors at the edges of the fleece at a distance of 1 - 2 meters…
55. Sink ground anchor with hammer
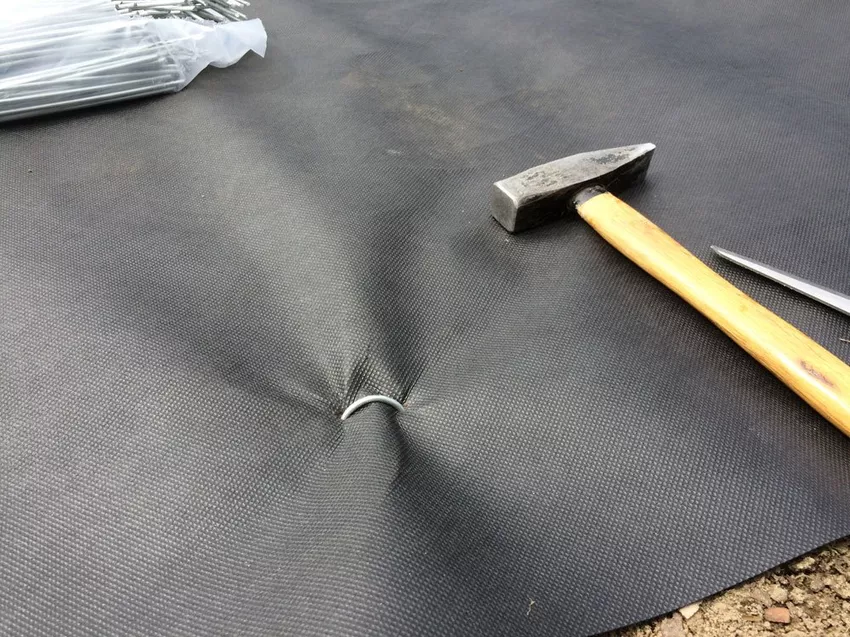
… and finally sunk into the ground with a hammer blow.
66. Cut Obstacles

I cut out the obstacles cleanly so that wild herbs get as little light as possible.
77. Curves and straight lines…

… can be easily cut to size with scissors and a cutter knife. Overlaps should be around 10 cm.
88. Remove protective impregnation

Weed fleece is supplied by the manufacturer with a protective impregnation. Simply so that the fleece arrives clean at the customer's. After the first rain, this protective film peels off and the fleece becomes permeable to water. I created the pearl effect for this series of photos with a garden hose. You don't necessarily have to copy it…
99. Bark Mulch
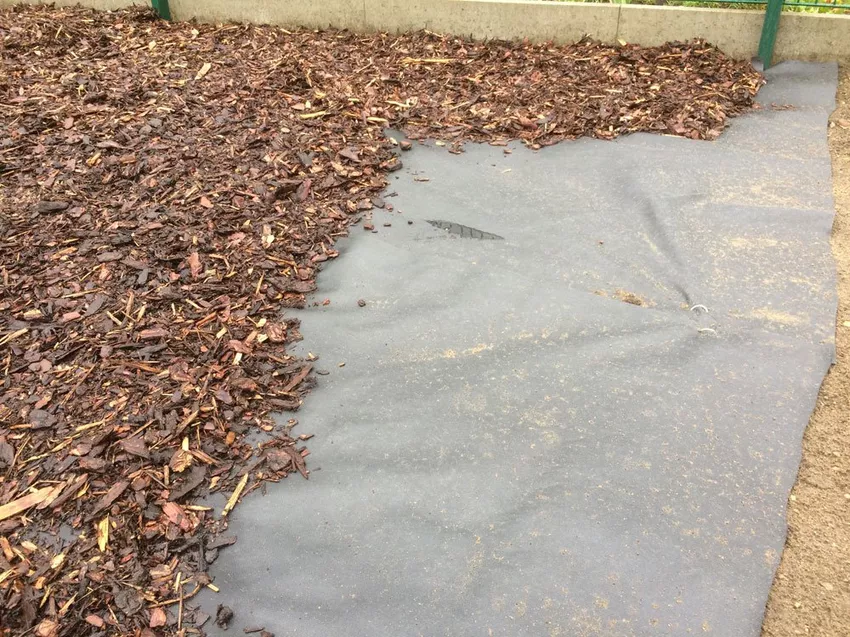
You could actually cut the weed mat in a cross shape at the planting sites and plant the plants. Since I didn't have any plants yet, I applied bark mulch first. You can also use pebbles or similar things later.
1010. Done
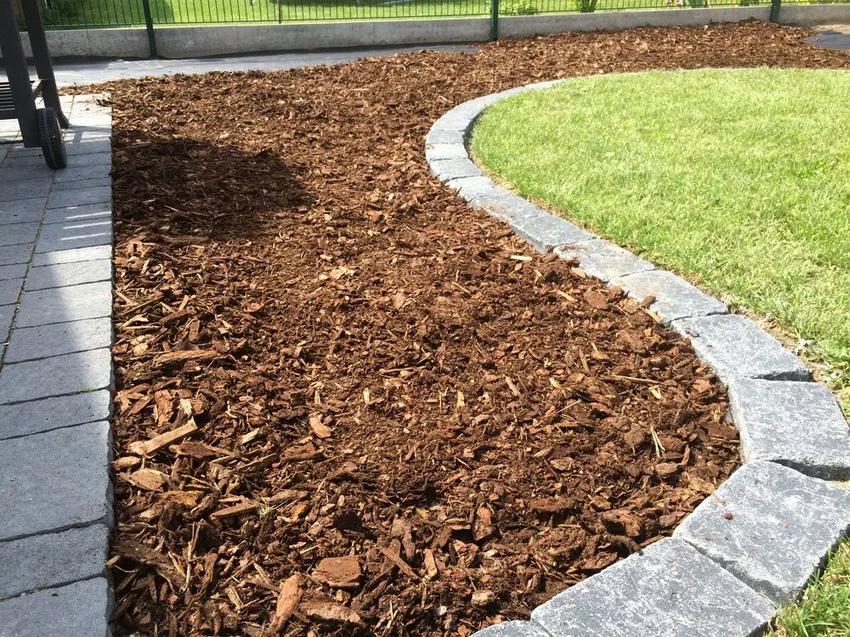
A tip again: Plant the plants first, then apply the top layer (bark mulch, pebbles, etc.). That's a lot more practical. ?
1111. Set plants
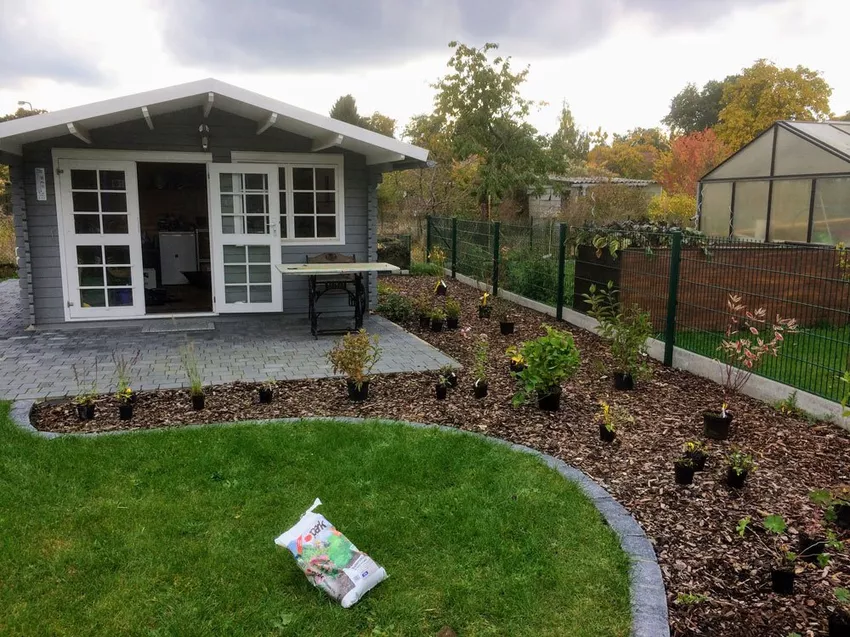
In autumn I put the plants in the bed.
My special tip:
For example, if you lay a rot-resistant garden fleece under paving stones or wooden planks, then no more ugly weeds will grow through them! So this is an ideal way to keep e.g. driveways, terraces, pergolas, etc. free of weeds for many years. And of course you can also use garden fleece in greenhouses. This eliminates the hassle of weeding.